Beeswax is a very useful and valuable part of the beekeeping ‘harvest’.
Bees produce wax by eating honey and releasing wax scales from slits along the sides of their abdomen. It is just one of many amazing feats they perform.
Depending on whose numbers you believe, it takes between 6 and 12 times the weight of honey to produce the same weight of beeswax.
 For bees, wax has a simple role, they chew the flakes and form it into the honeycomb used to raise their young and store food in the forms of nectar/honey and pollen.
For man, beeswax offered efficient sources of light. Beeswax candles smell so much nicer than those made from animal fats, and they burn brighter.
Of course after candles came a number of other uses, from simple polish, to protective coatings for medicines, and as a component of ‘surgical bone wax’, used to control bleeding during surgery.
 For the average beekeeper, beeswax is obtained from two processes.
Firstly when an old frame is removed from the hive the wax can be recovered.
The downside of this is that the frames are usually 3 or more years old and removed as part of a hygiene regime.
By this time, there is a relatively small amount of pure wax left, as the frames are clogged with cocoons from the raising of young bees. After much effort you tend to get just a few ounces of wax per frame. Personally I use these frames for firelighters.
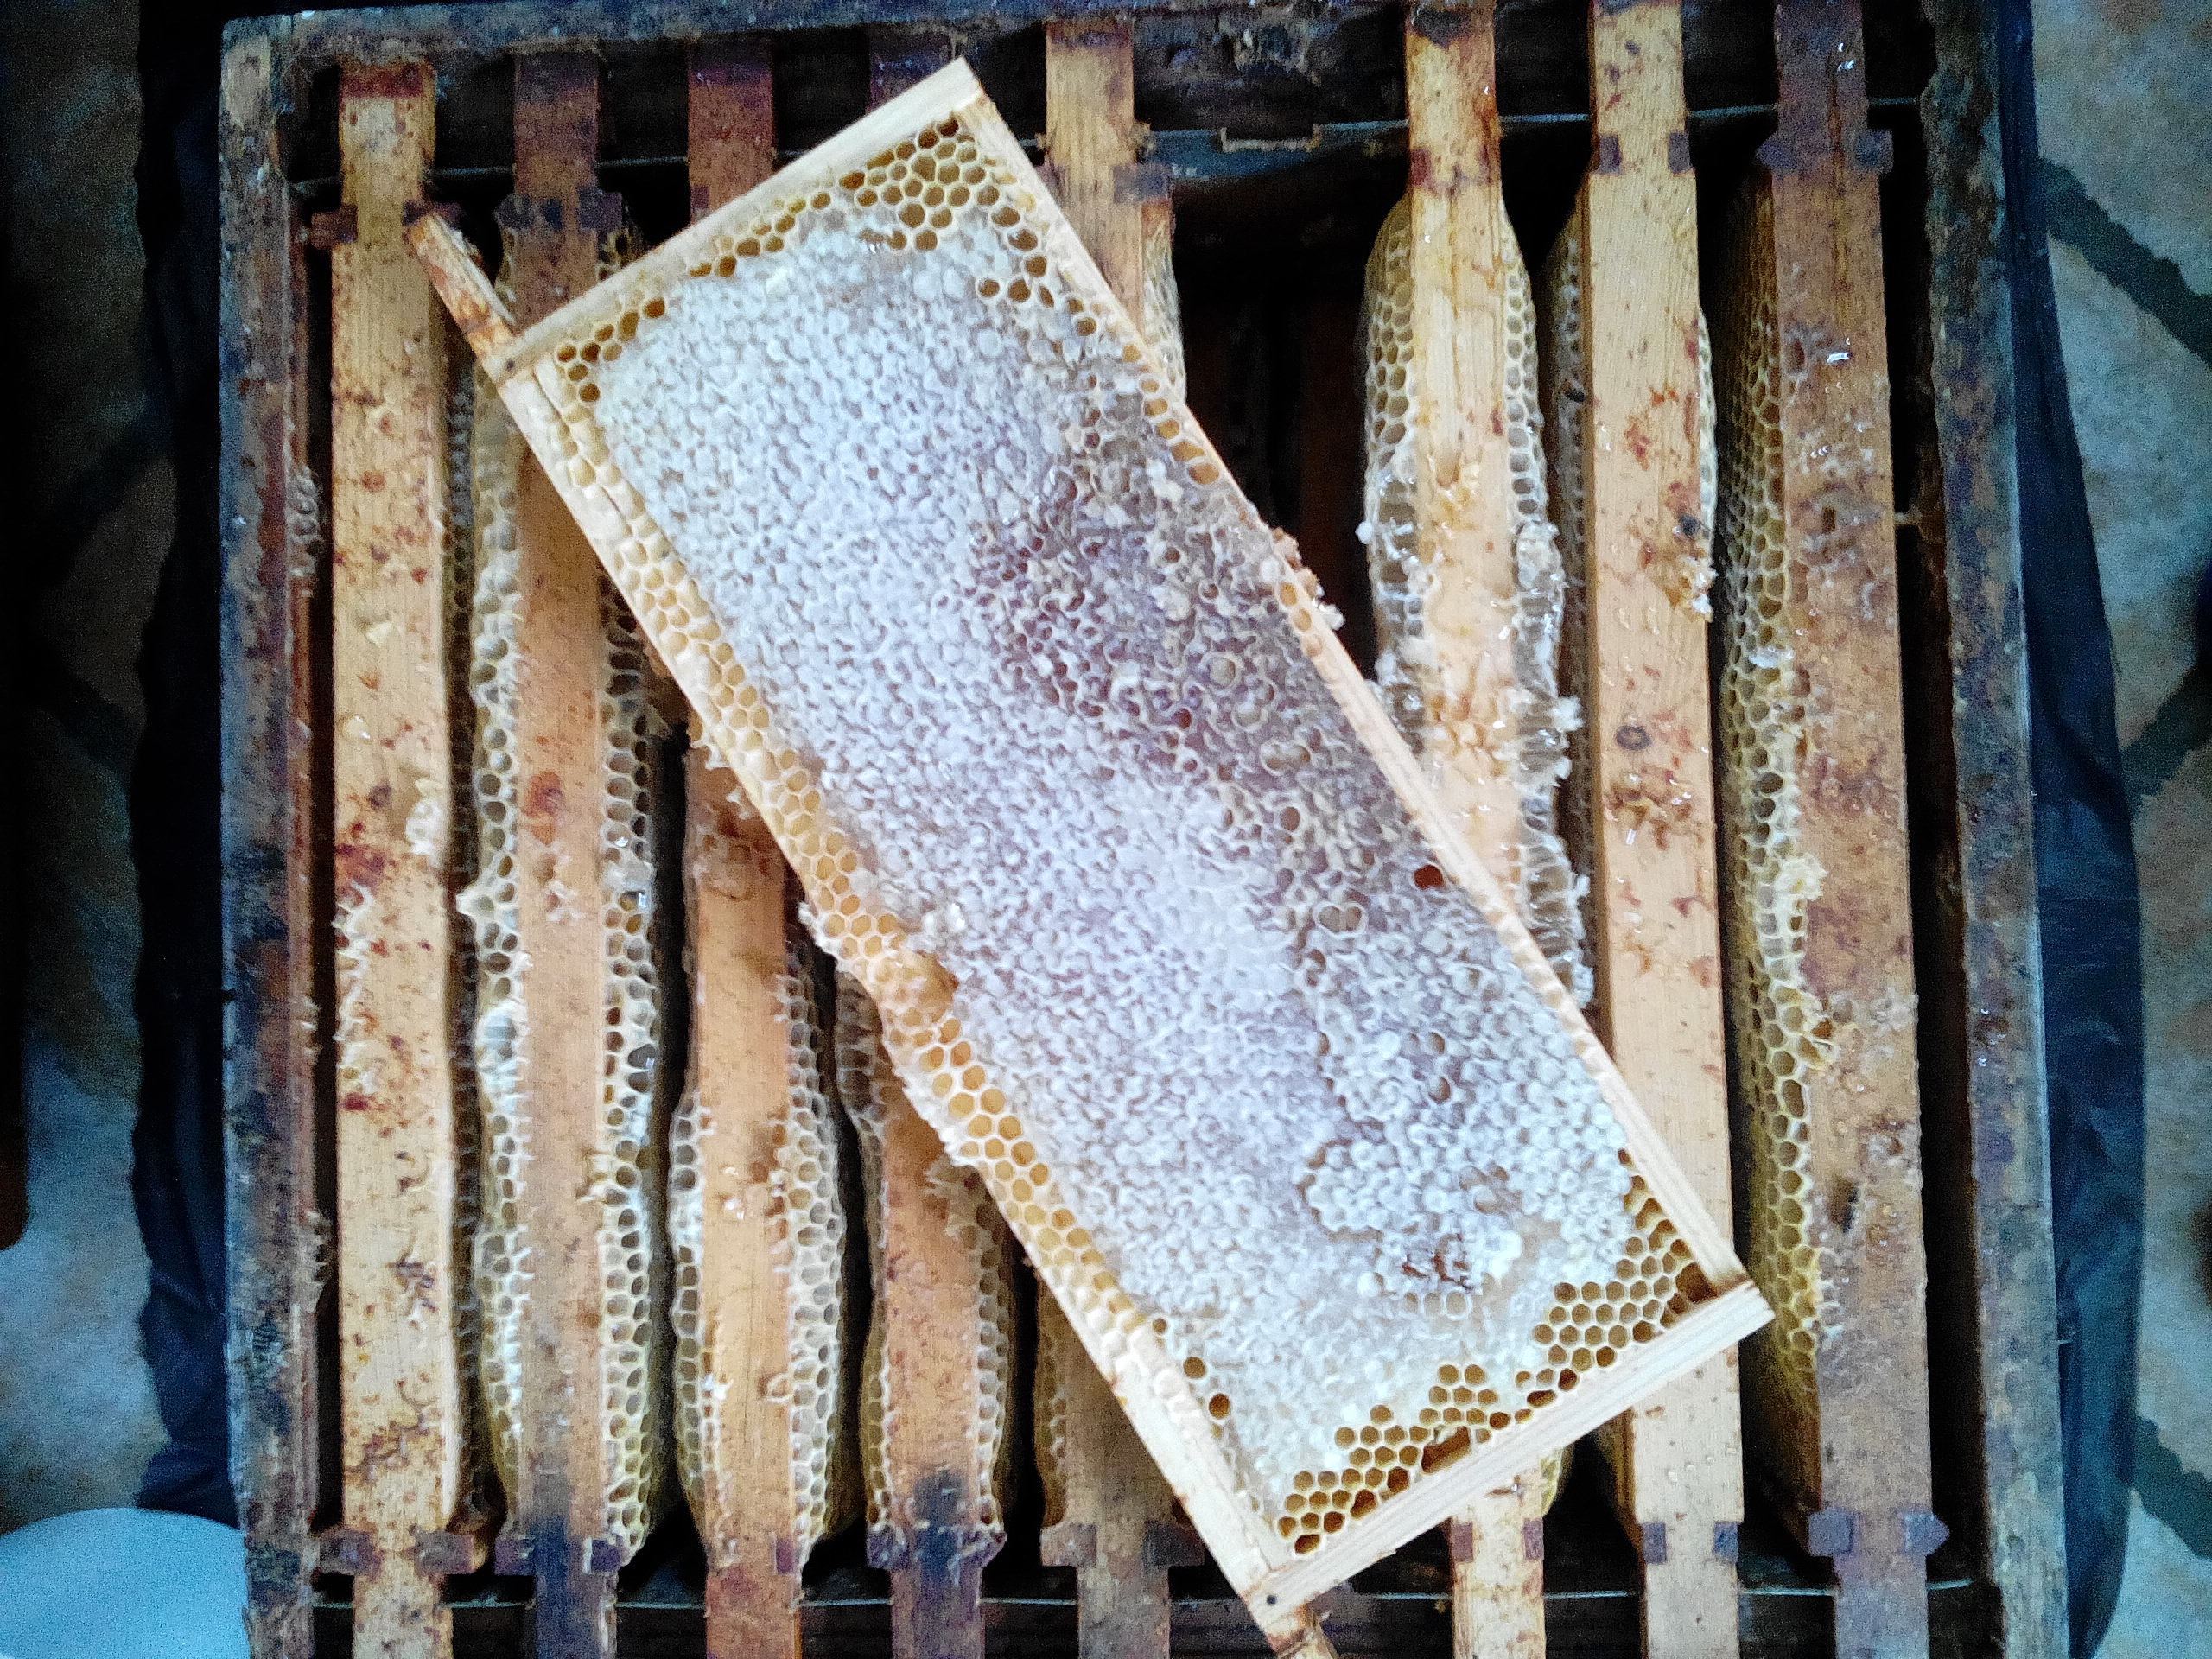
The second, and in my opinion best, source of wax, is from ‘cappings’. This is the pure wax scraped or cut off the front of ‘super’ frames before putting them into centrifugal extractors to remove the honey. The resulting honey/wax mix can be given back to the bees to recover the honey, leaving pure clean wax behind.
An average hive will produce perhaps 3 or 4 pounds of beeswax a year. Not surprising then that this wonderful product is so highly valued and sought after.
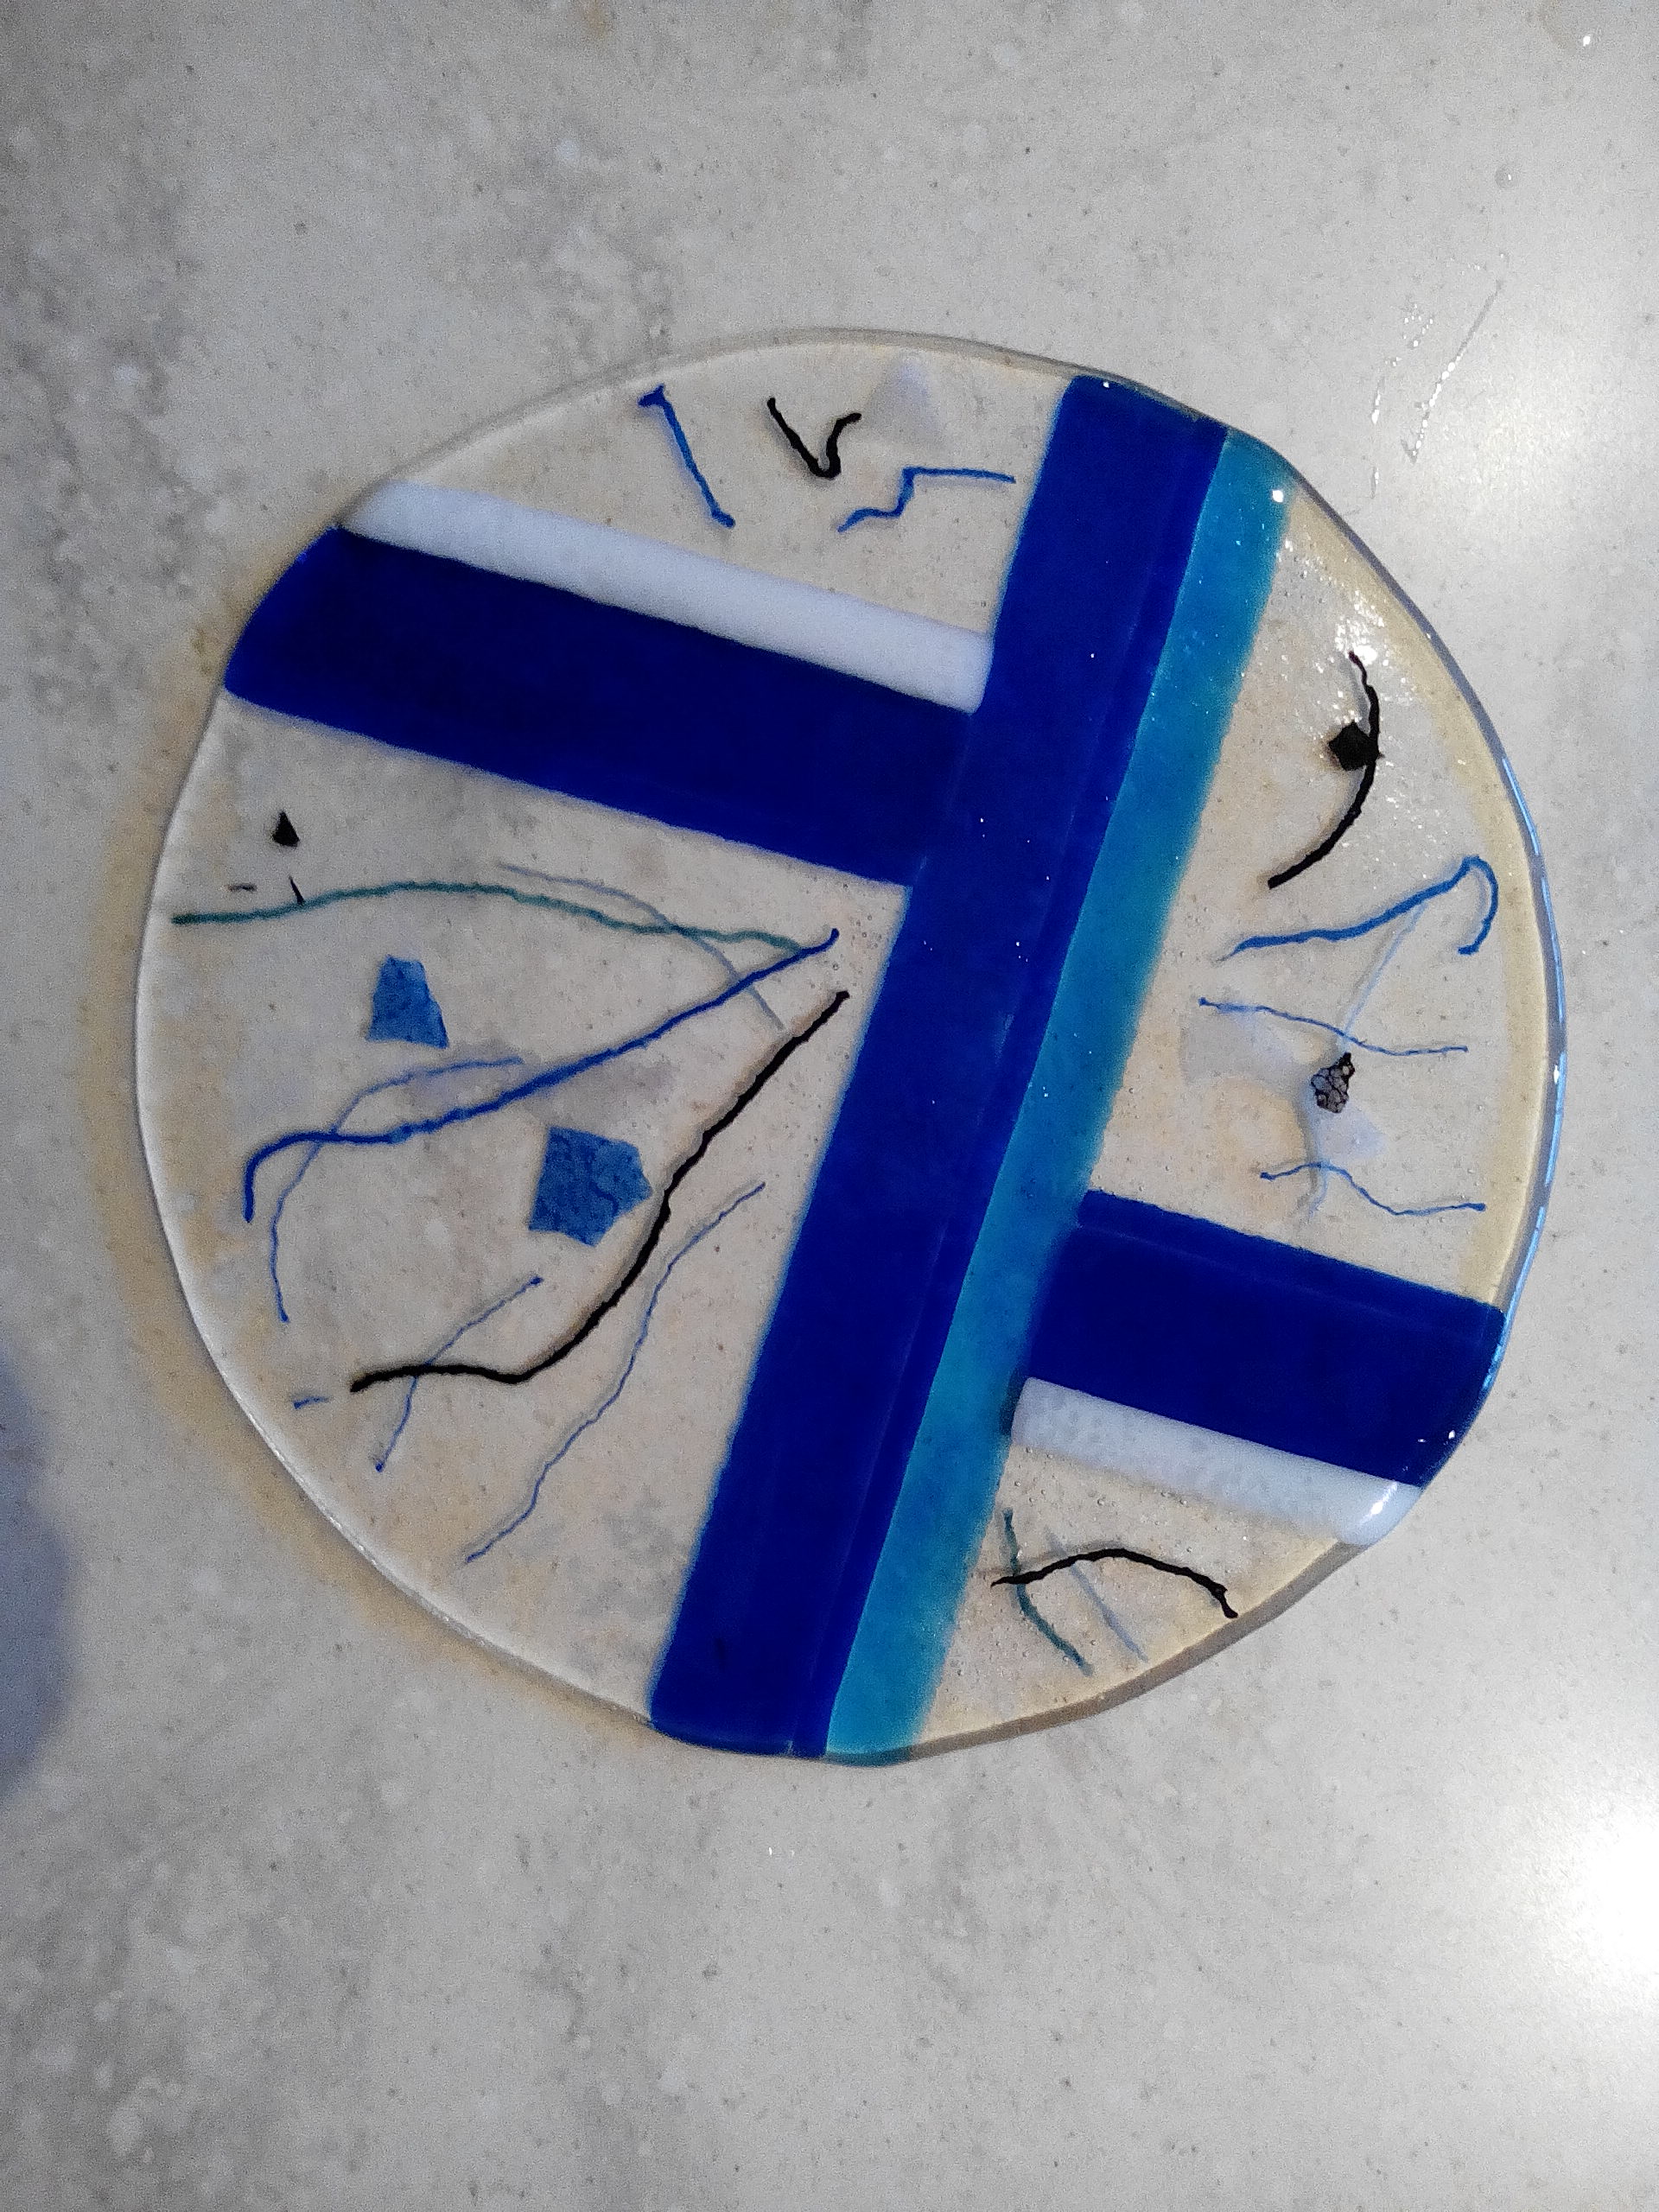
 We have been making fused glass hens and bees, along with a few other bits and pieces. This is the final result post firing. For this run I reduced the temperature to 795 degrees C for 10 minutes as I felt that the 800 degrees C run was slightly over cooked and melted.
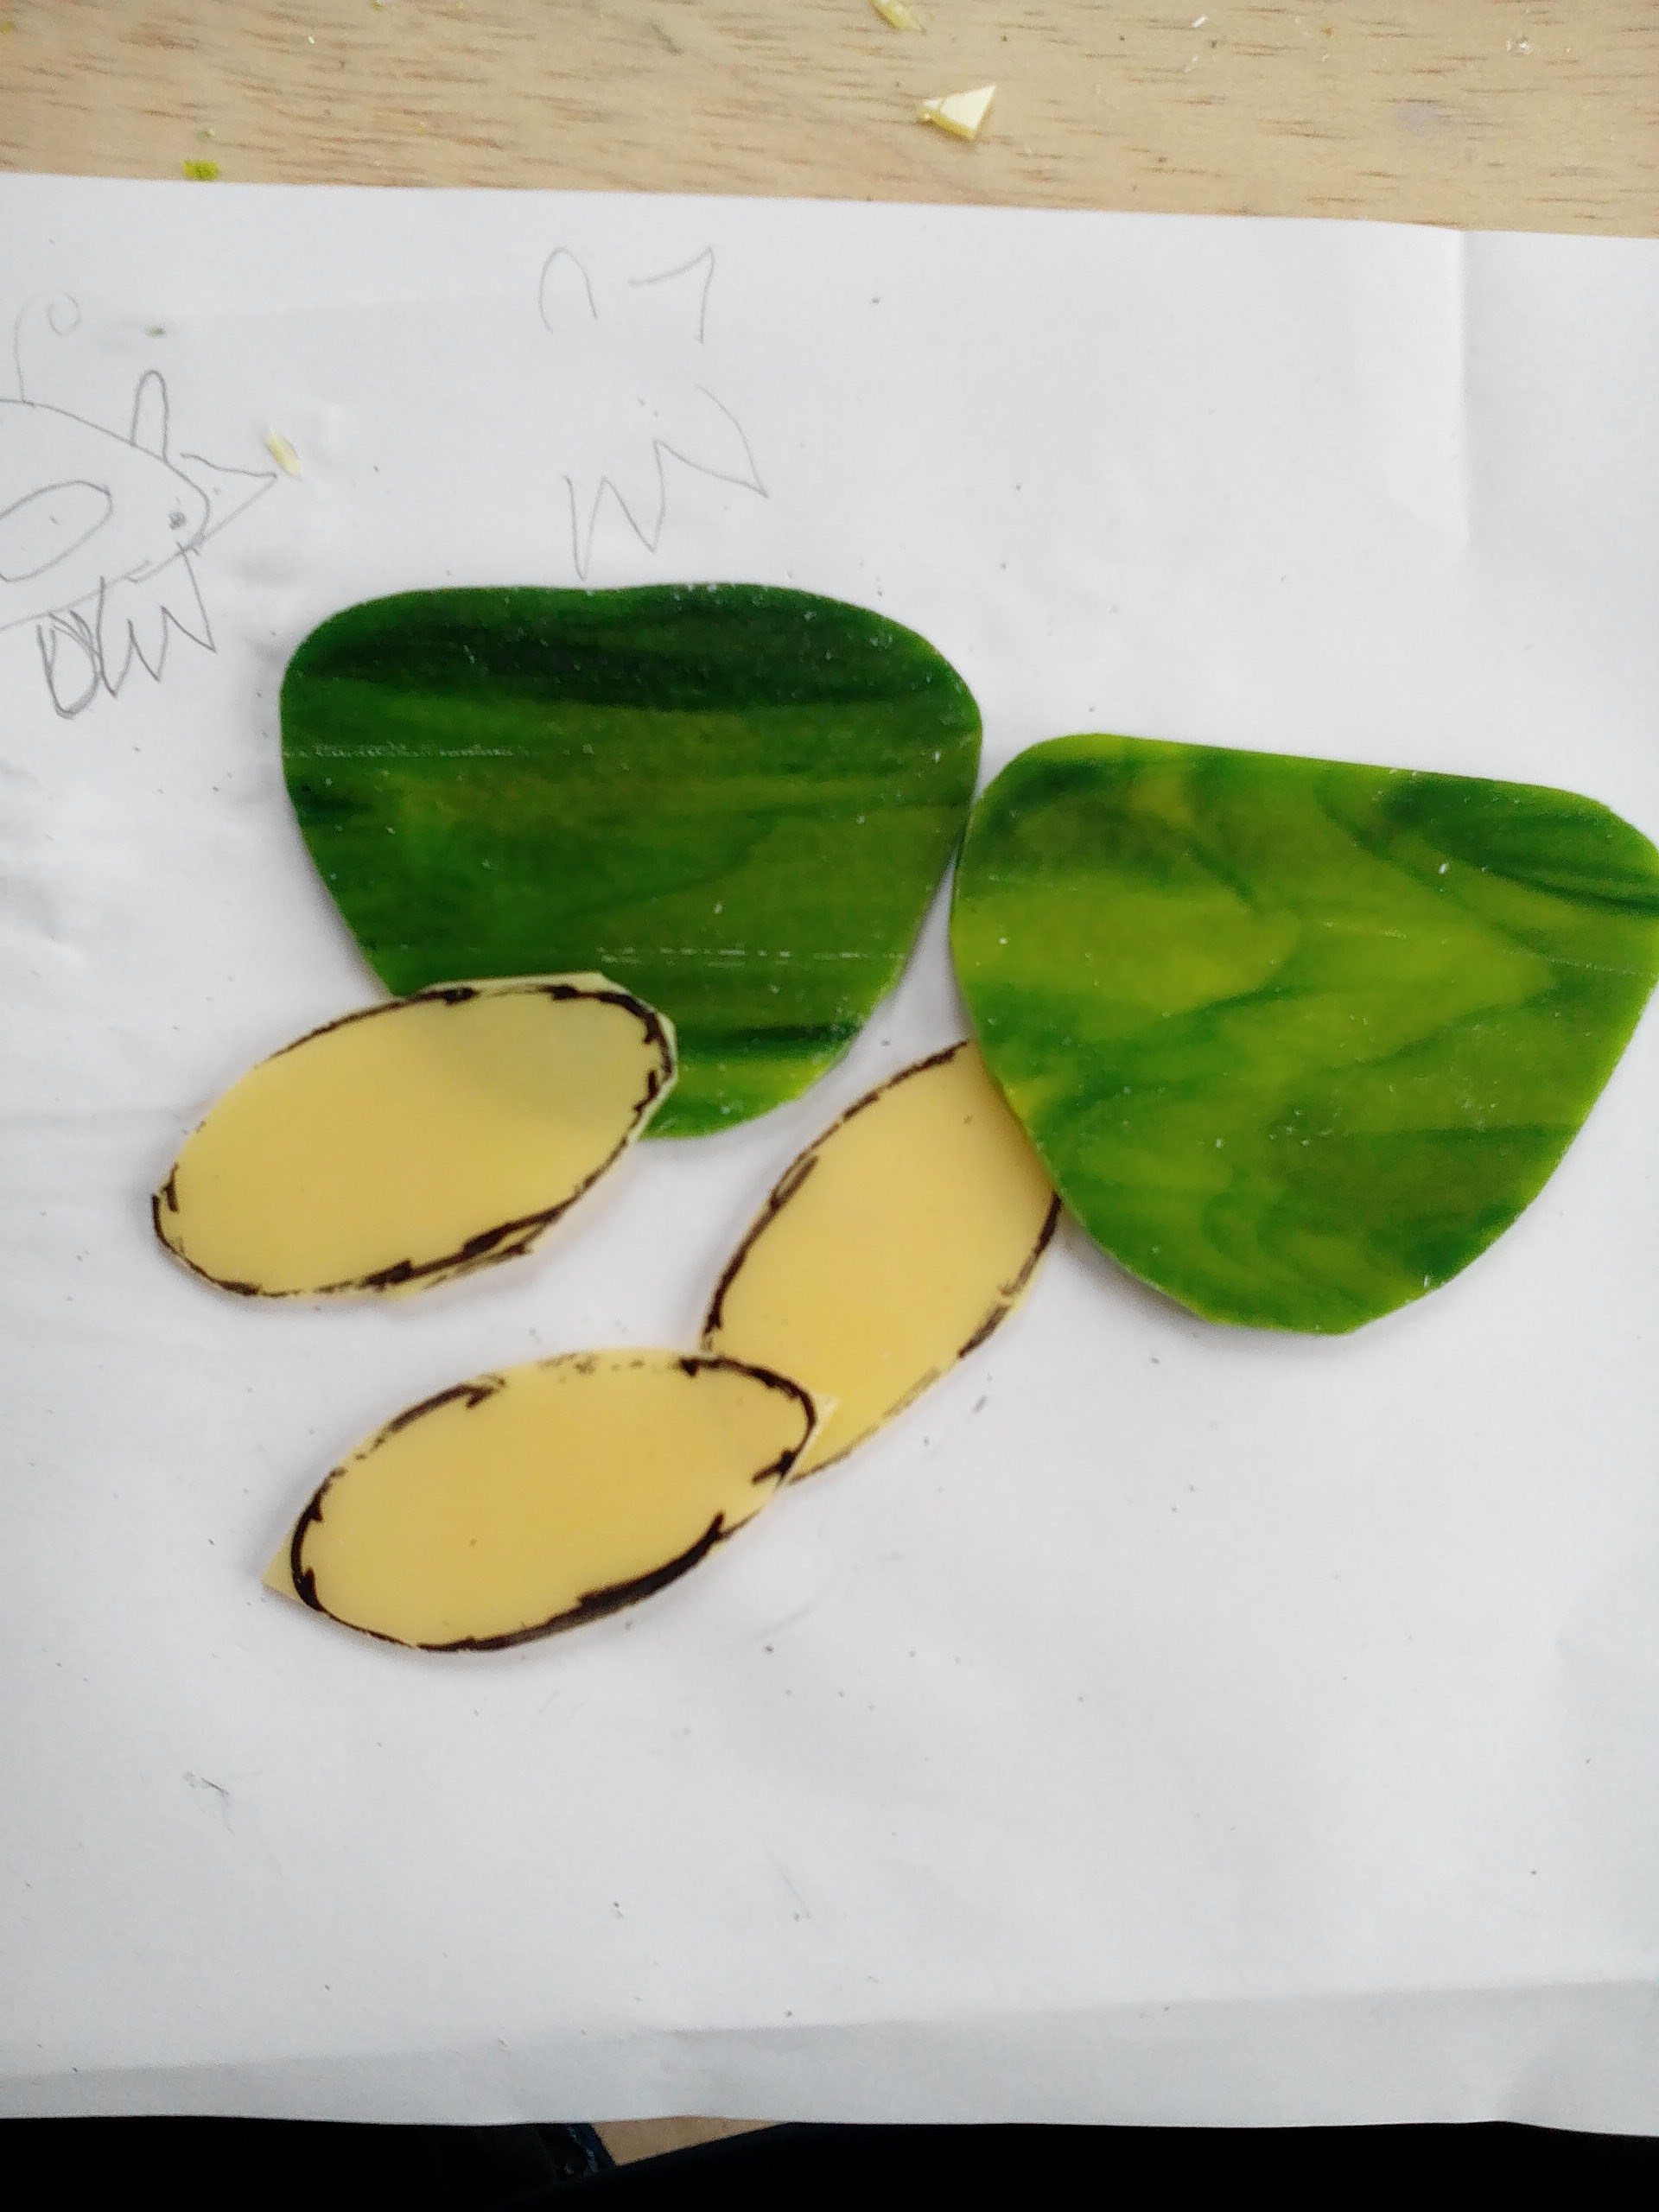
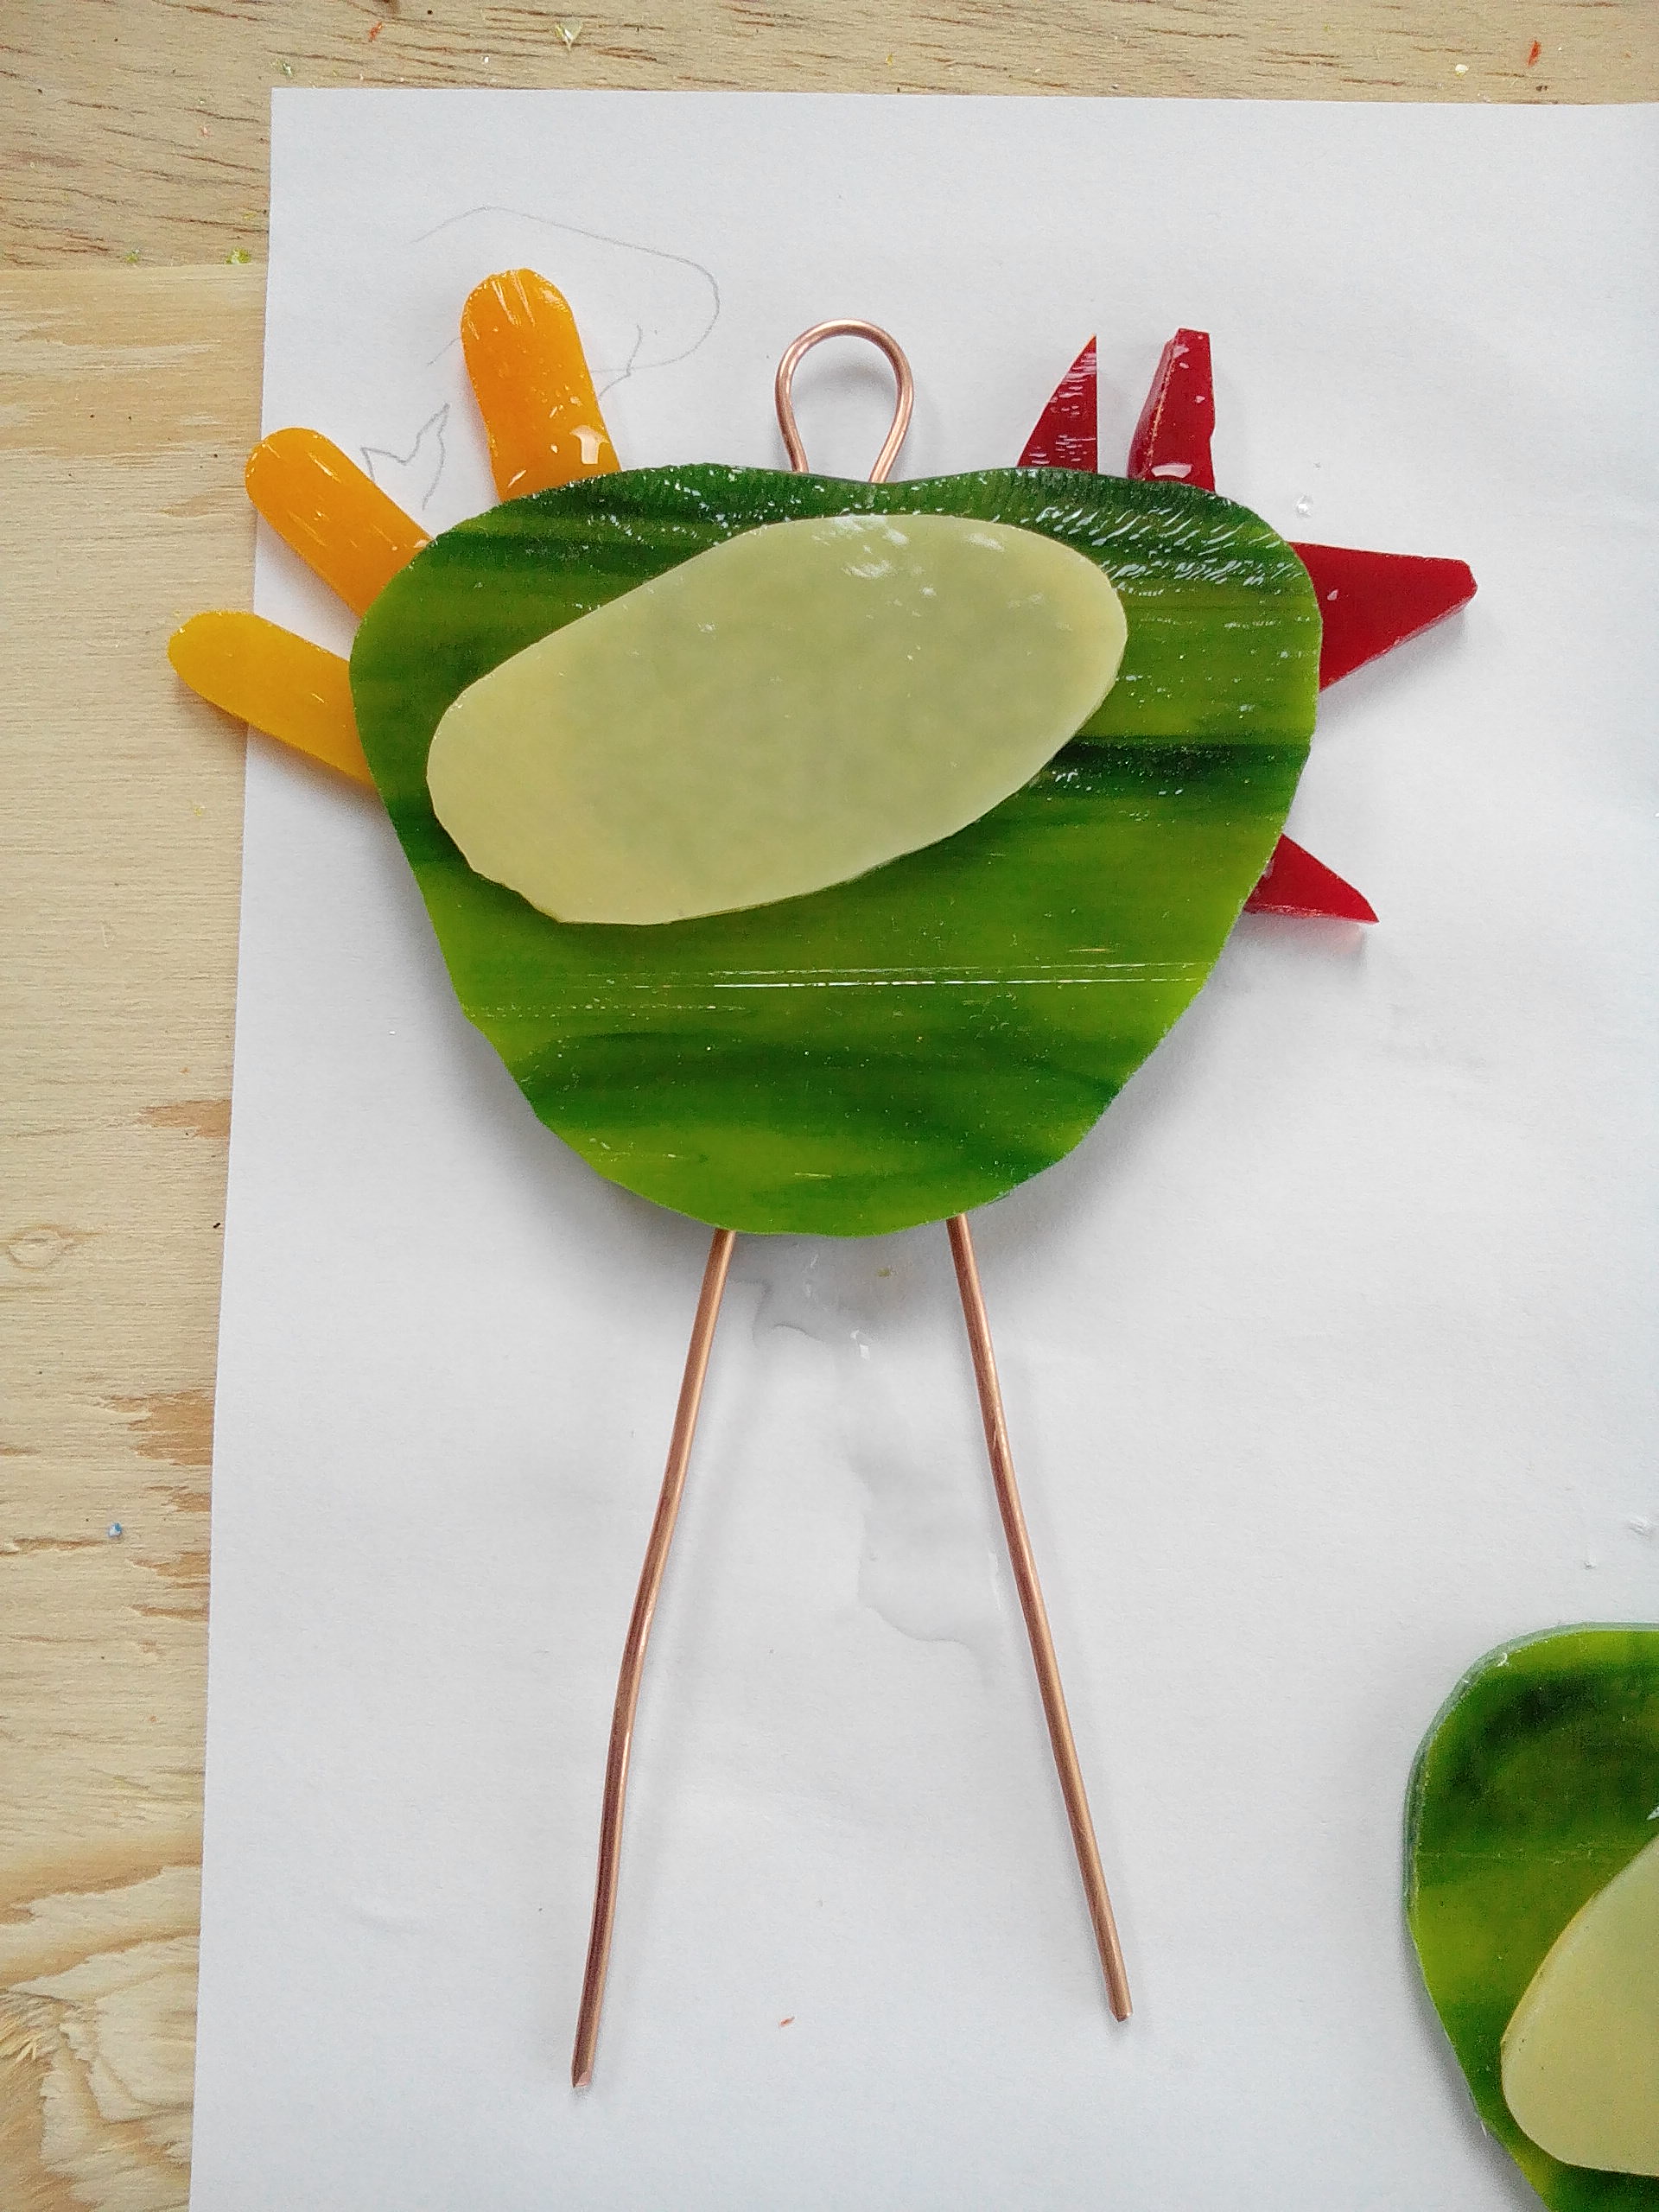

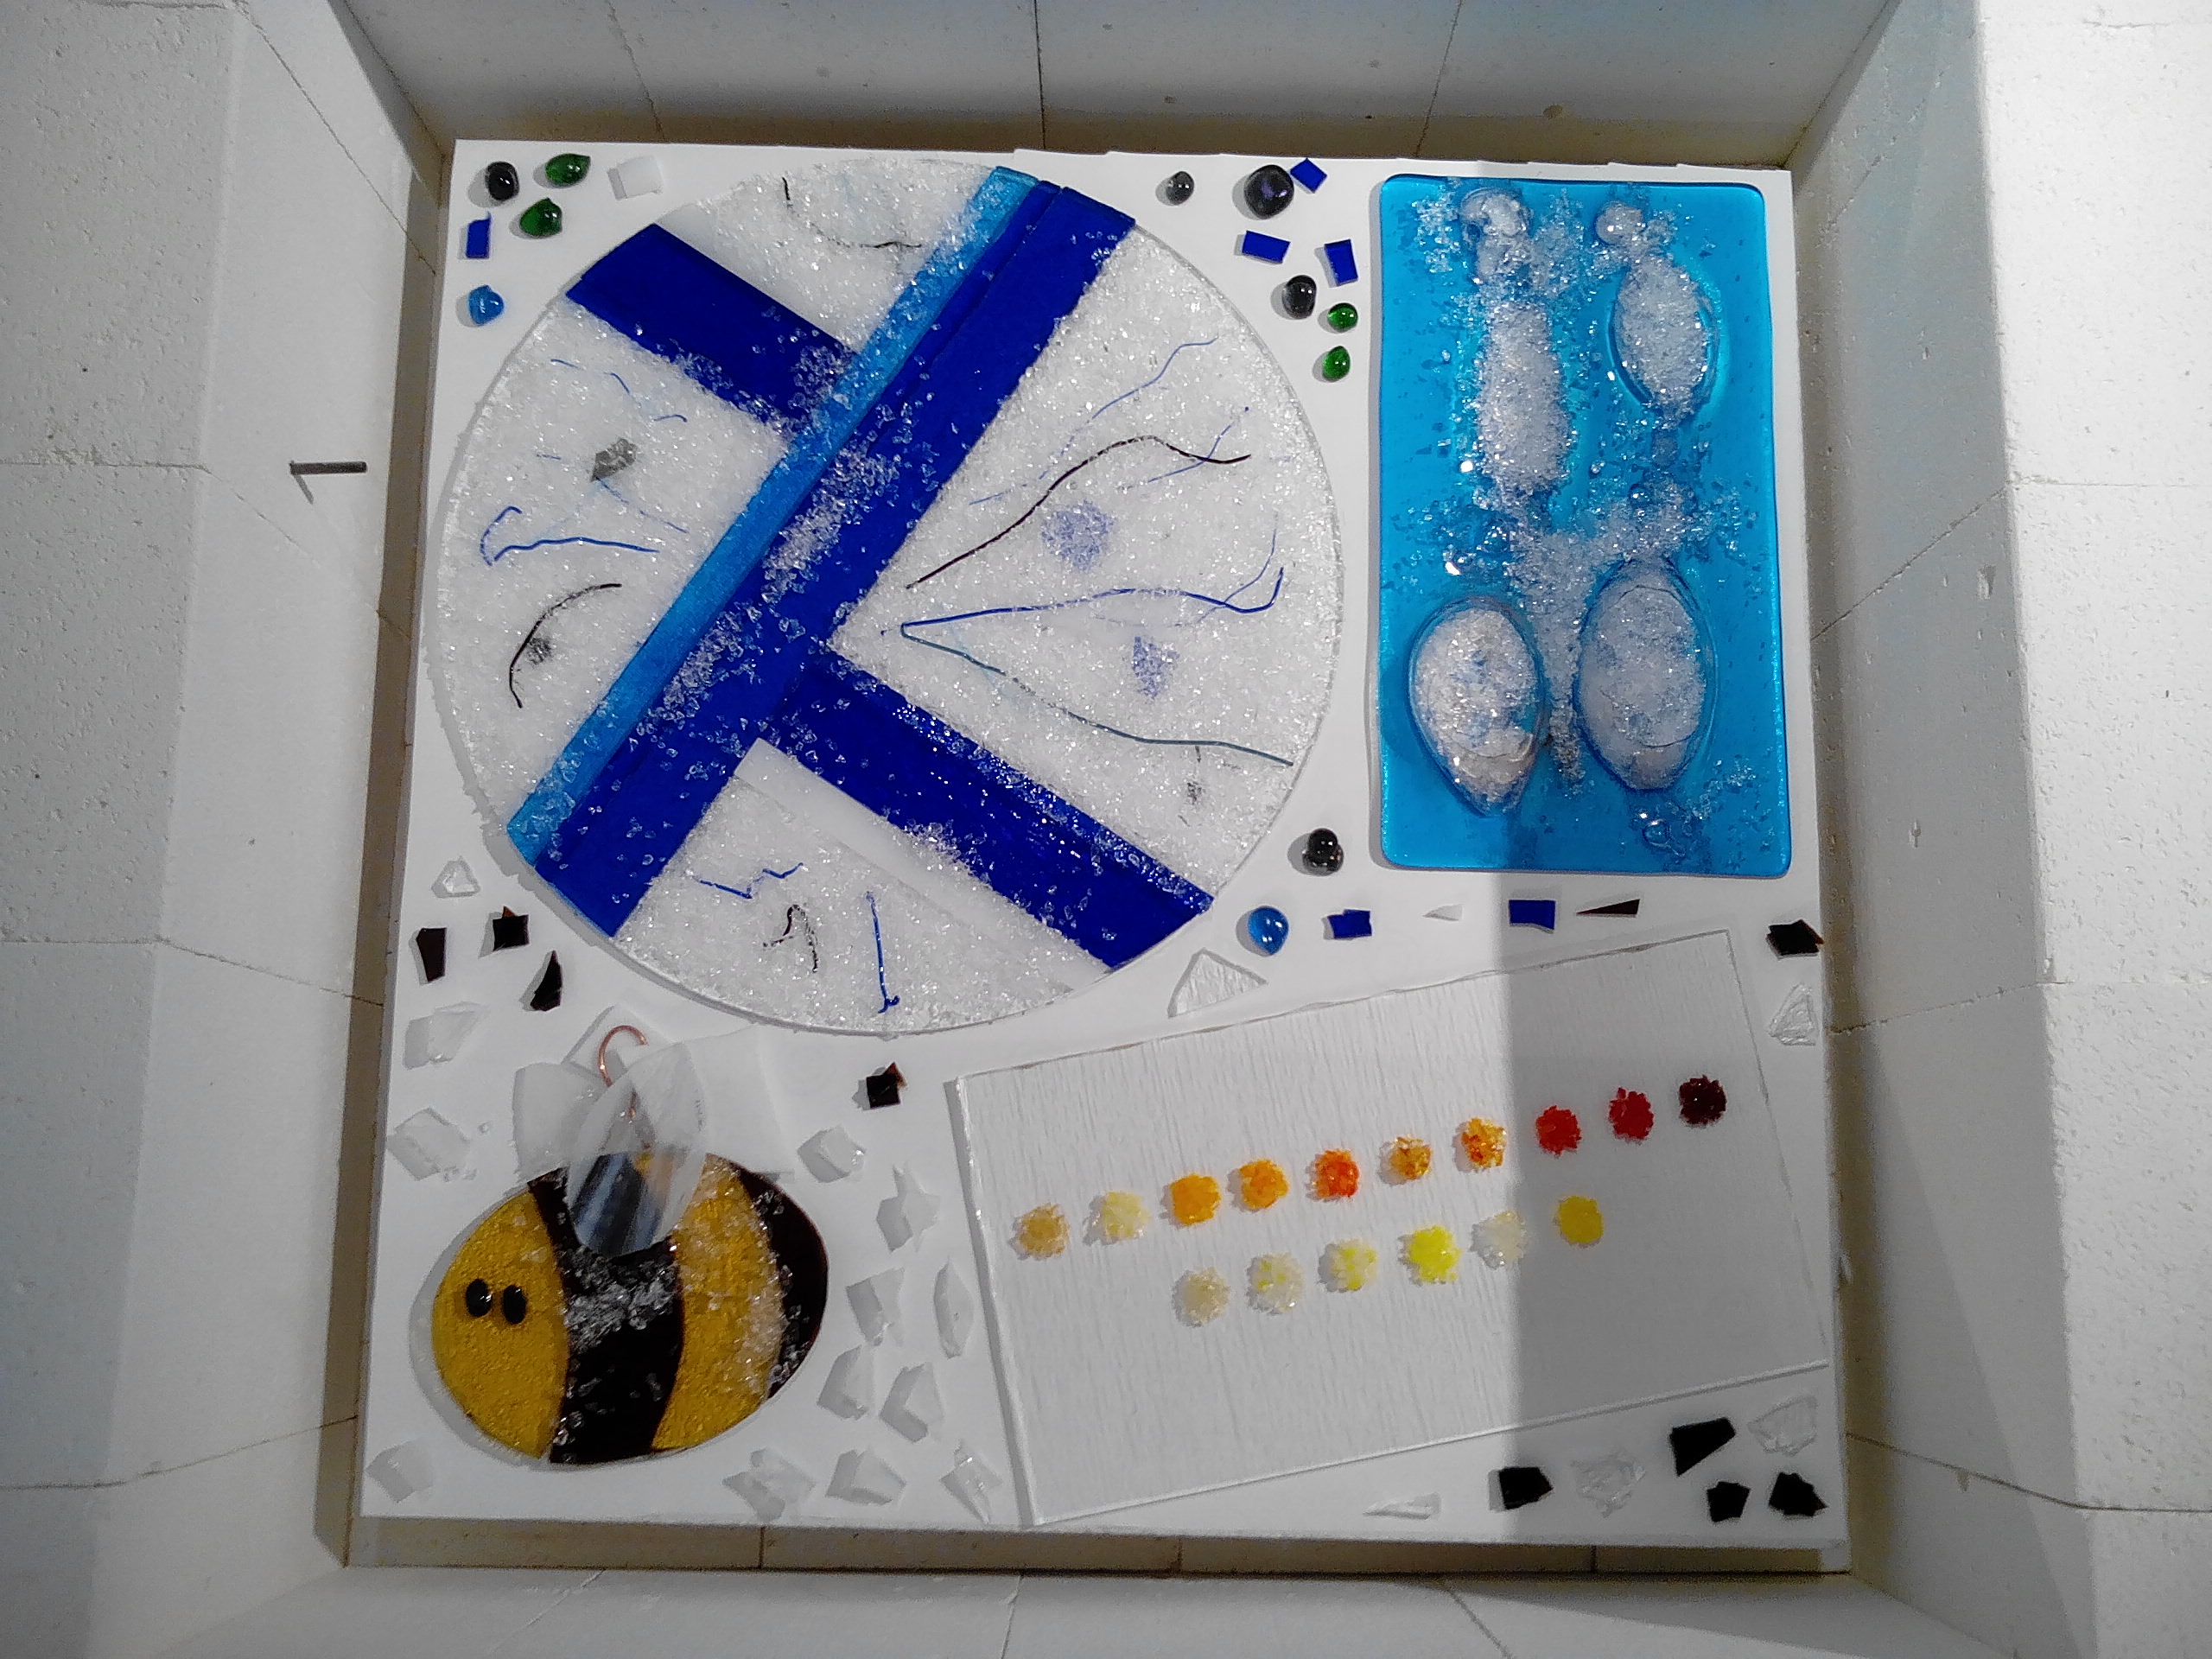
 And this is the kiln shelf full of hens, bees and beads. I am also refiring the plate I was trying to make into a dish, but for which I overdid the bubbles. I have since popped them and am putting them through the kiln again to flatten it down, before I make it into shallow bowl.