This week we have been felt making.
I needed protective covers for my Christmas presents, 2 water stones for sharpening my wood caving chisels, and felt covers were the obvious answer.
 Felt making is an interesting and quite physical process, so you get a work out and a product at the end.
The process begins with laying out the wool. Ours comes from Northumberland sheep, from the farm we visit every November. We swap honey and jams for fleece which we then clean, card and dye.
 Next you put a mesh over the wool and rub soap into the fleece. Repeat with fleece added at right angles to the last layer until you have built up about 6 layers. Here I am making a tube so the fleece is wrapped around a former, front and back.
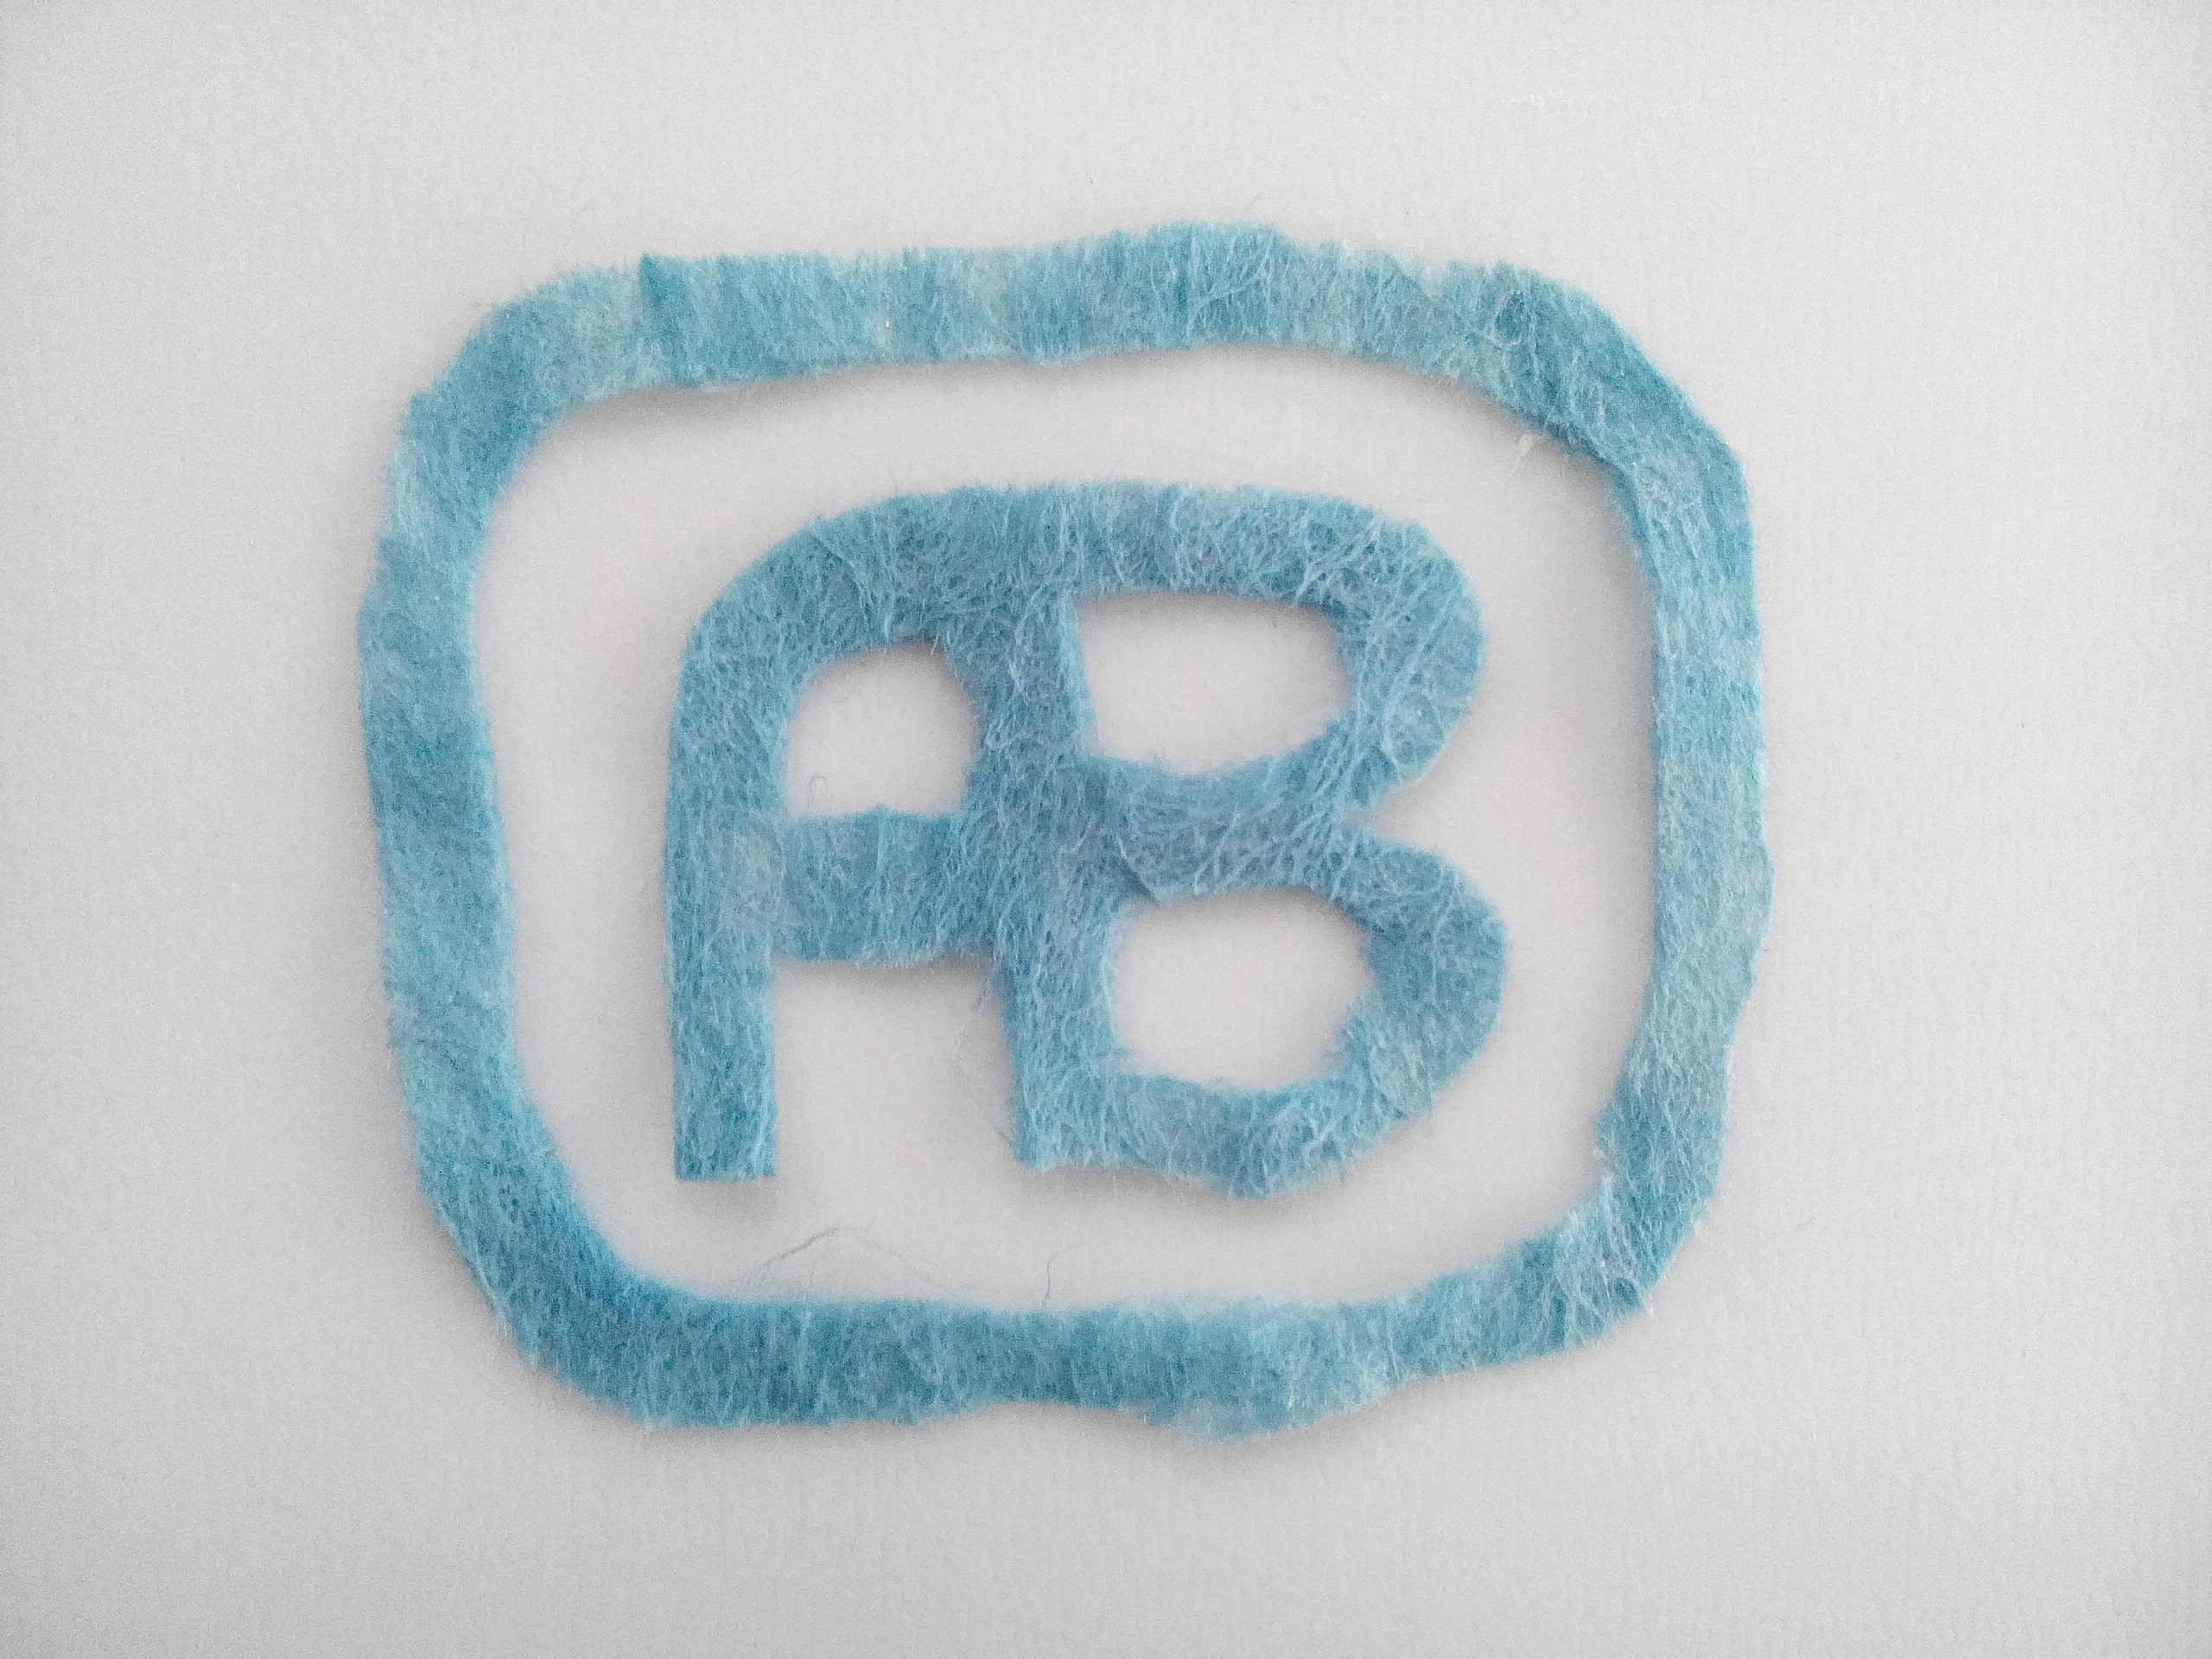 Add a cut out version of my logo in fleece.
 Rub, rub and rub, until you can feel the wool ‘felting’ together.
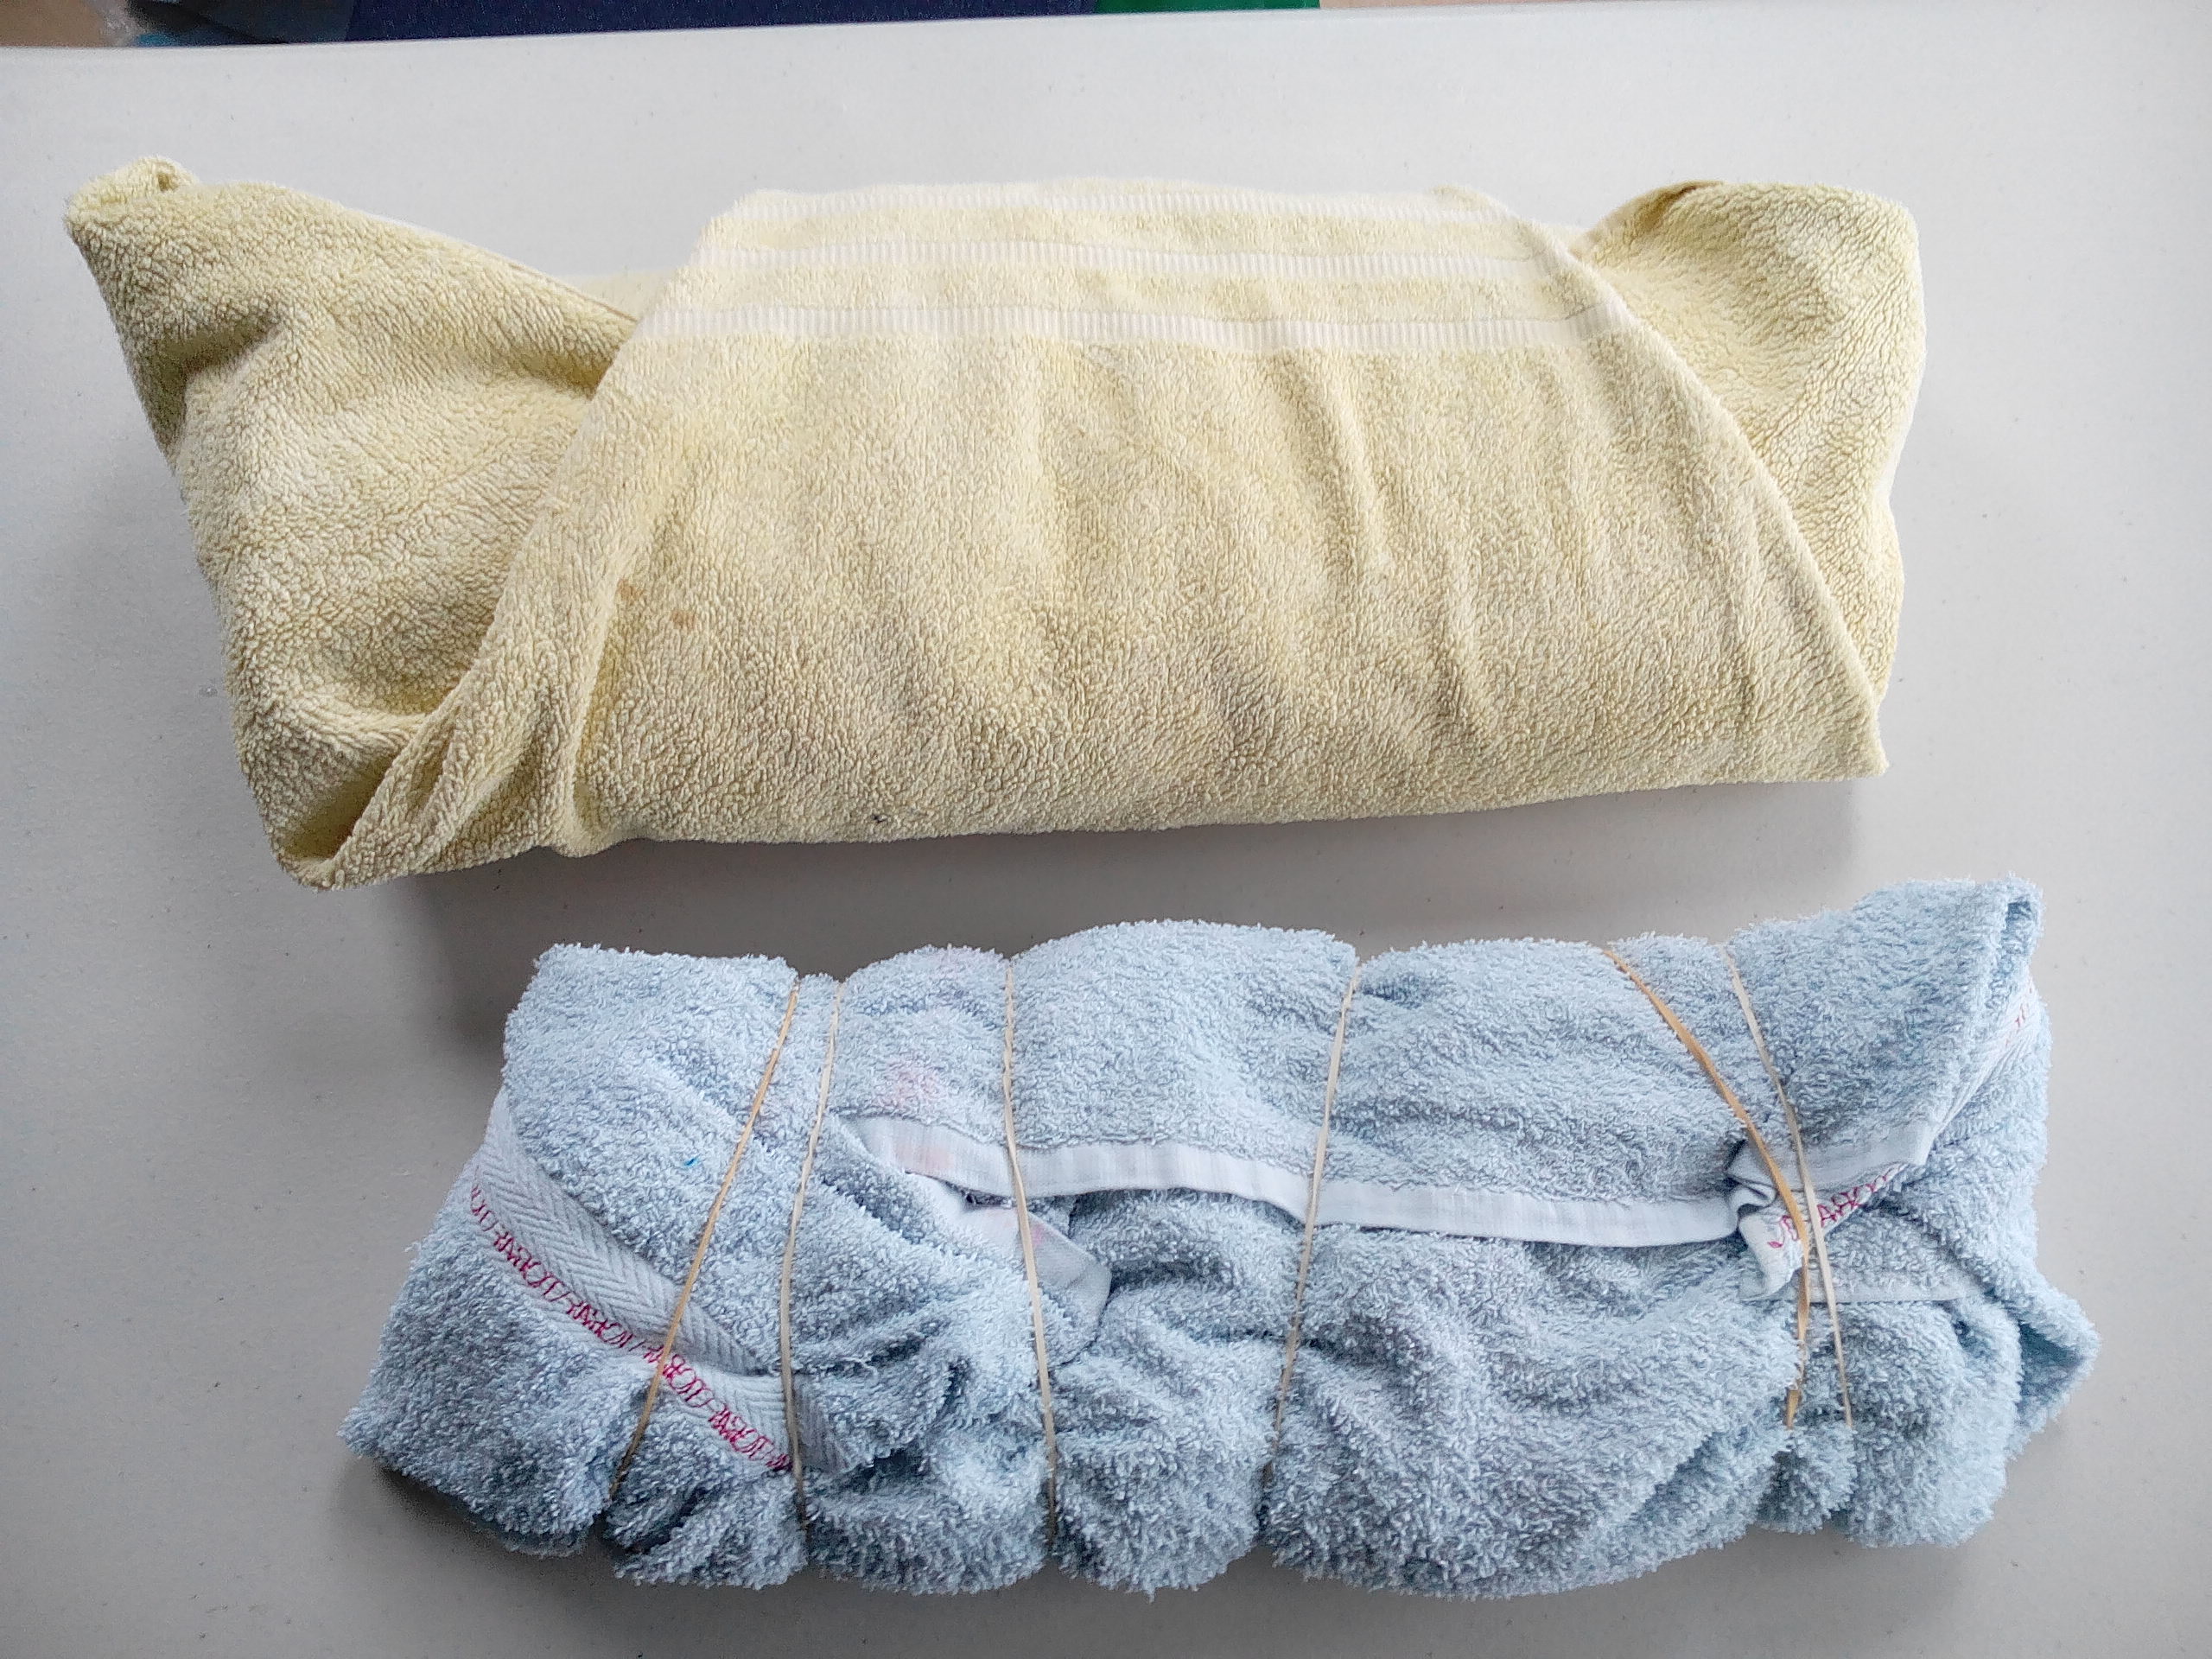
Wrap tightly in bubble wrap and a towel. Truss it together and put in the washing machine to complete the felting process.

Last stage is to put a wooden former inside the felt case to the size of the sharpening stones. Wrap and then put back into the washing machine.
Anyone who has ever washed a real wool jumper will know what happens now. It shrinks and goes very dense. The felting process is complete.
 Final stage is to add a home made button (made from fimo polymer clay by my wife), and then finish off with a flap.
You can see the stone poking out of the left hand cover.
It is also interesting to see the difference in how the logos have come out. One has stretched and the other has shrunk.
The wonders of felting.