As mentioned in a couple of earlier posts, I have been playing with glass casting as an extension of fused glass work.
I was inspired by a walk along a wonderful beach in Noordhoek, South Africa. The beach is simply huge, with wide expanses of sand. The wind can be low and harsh, making it feel like your feet and shins are being exfoliated. Anyway, whilst walking along the pristine sand I was hit by the ‘leave only footprints’ saying, and that gave me the idea for my first glass casting.
Much research later and I was ready to have a go.
What I wanted to produce was a glass foot with a small surround, as if I had poured the glass into the footprint in the sand. This makes life a little more difficult, as it meant that I needed to go through 3 stages to get the final kiln mould.
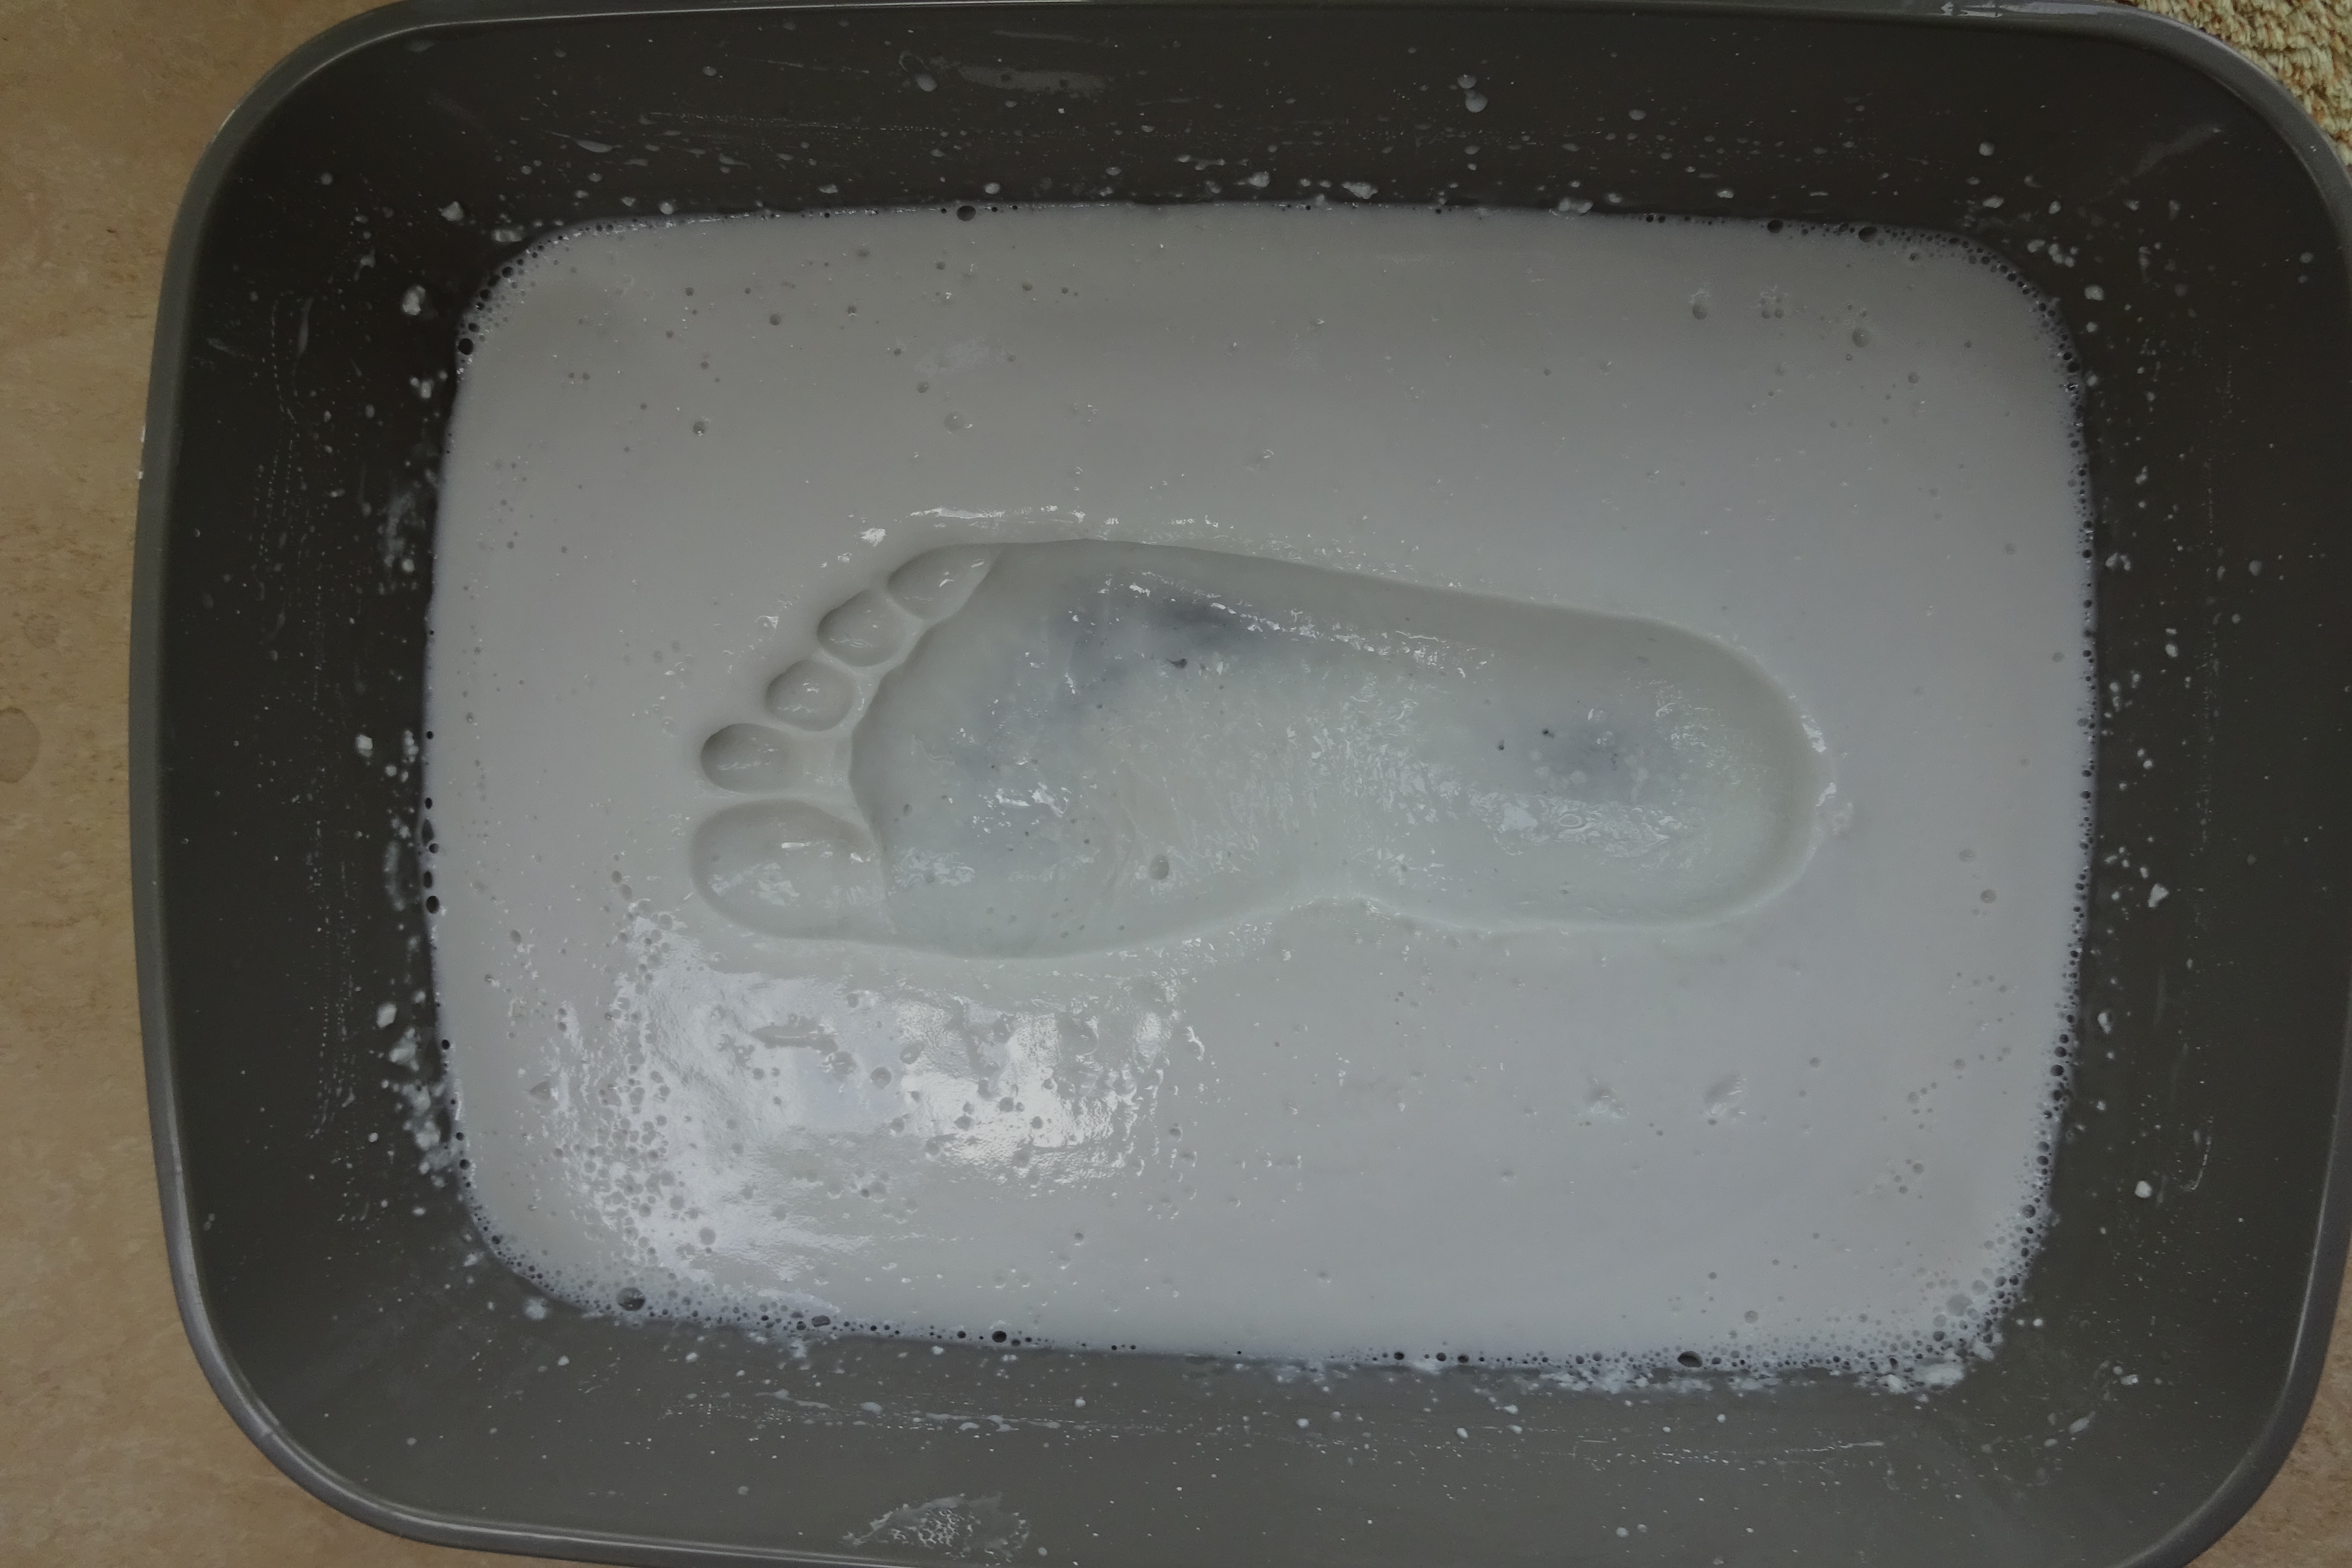
 Stage 1 involves making an impression, in alginate, of a foot. My version of the sand footprint. For this my wife ‘volunteered’. Alginate goes off in a matter of minutes so you need to work quickly. It is mixed from powder and put into a tray. add the required foot, wait 5 minutes and carefully remove. The result is a perfect impression.
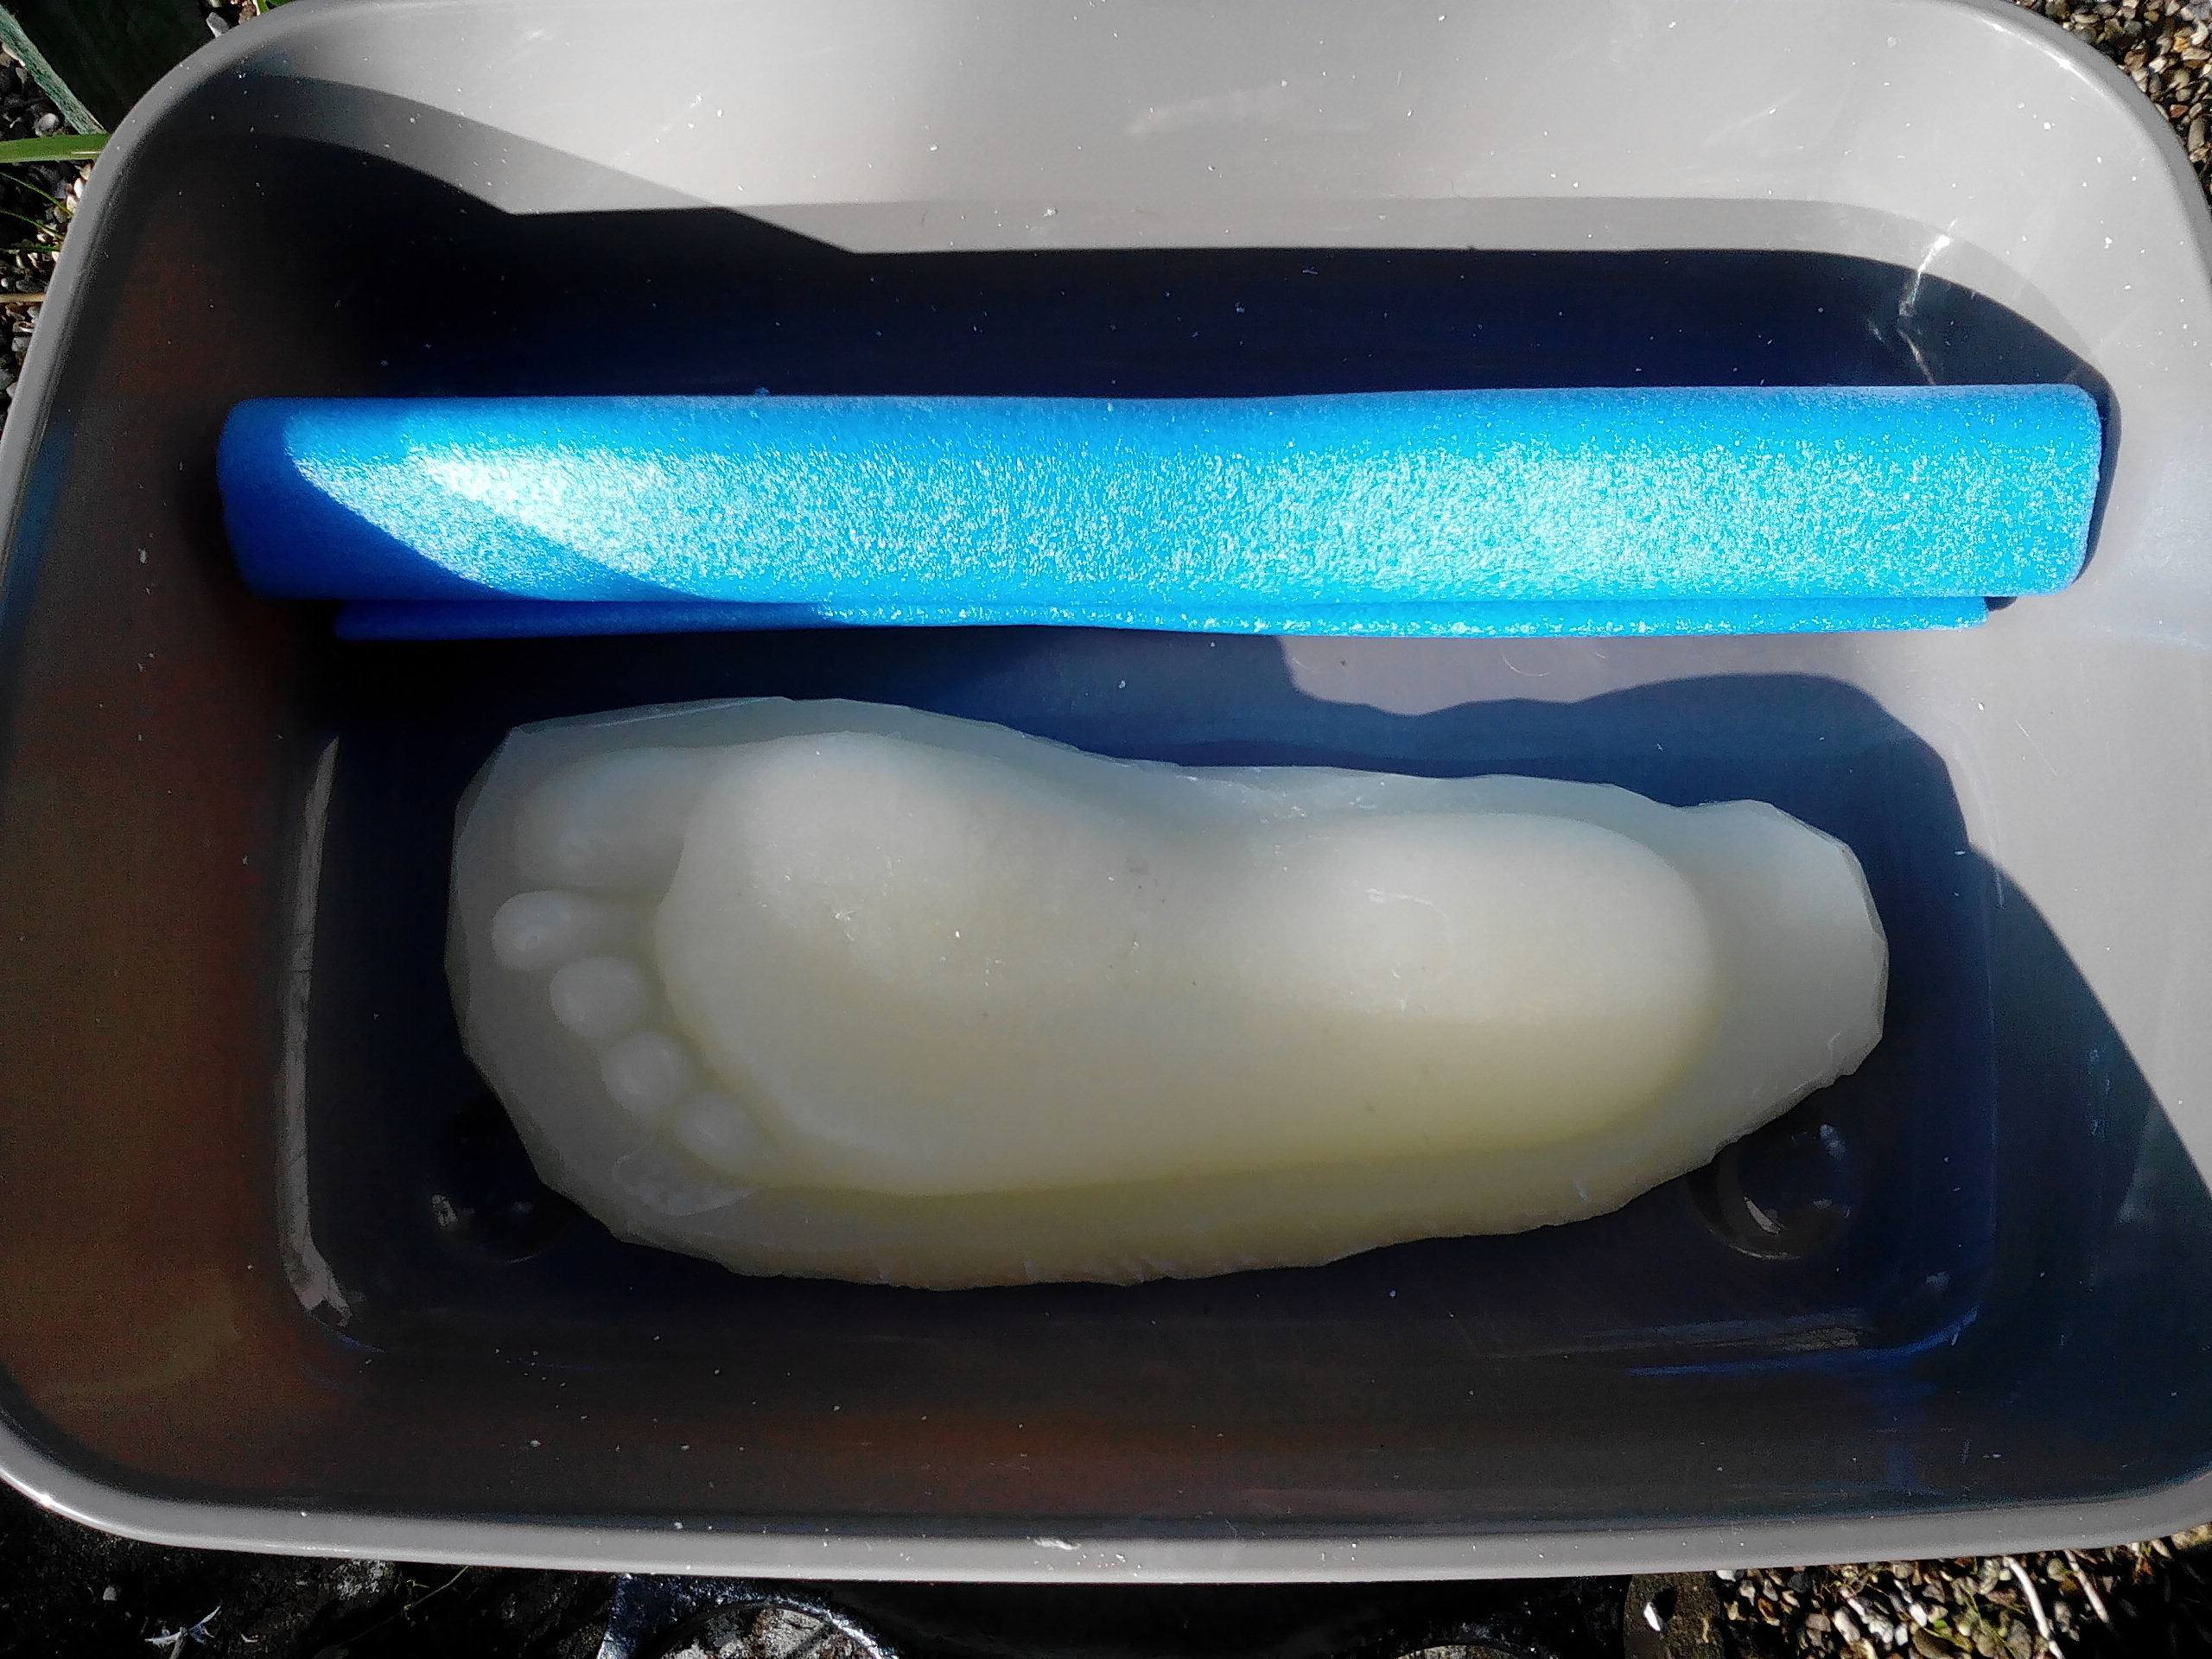
 Stage 2 is to pour wax into the alginate impression to produce a ‘positive’ wax version of the foot. This was then trimmed to replicate what I want the final glass artwork to look like. I managed to make 2 wax impressions before the alginate disintegrated. But from here on it is all one use, so no mistakes allowed.
 Stage 3 is to produce the final plaster mould. For this I am grateful to the selfless people who share their experiences on YouTube, particularly Di Tocker, whose videos I have found extremely useful and informative.
Having sourced silica flour and plaster (much cheaper than the ready mixed packs available), I was ready. The wax foot is placed in a tray. The foam is just to reduce the amount of plaster needed. Mix equal amounts of water, silica flour and plaster. Pour over and there we have it. I also added a sheet of wire mesh into the top layer of plaster to add strength. Leave to set for about a day.
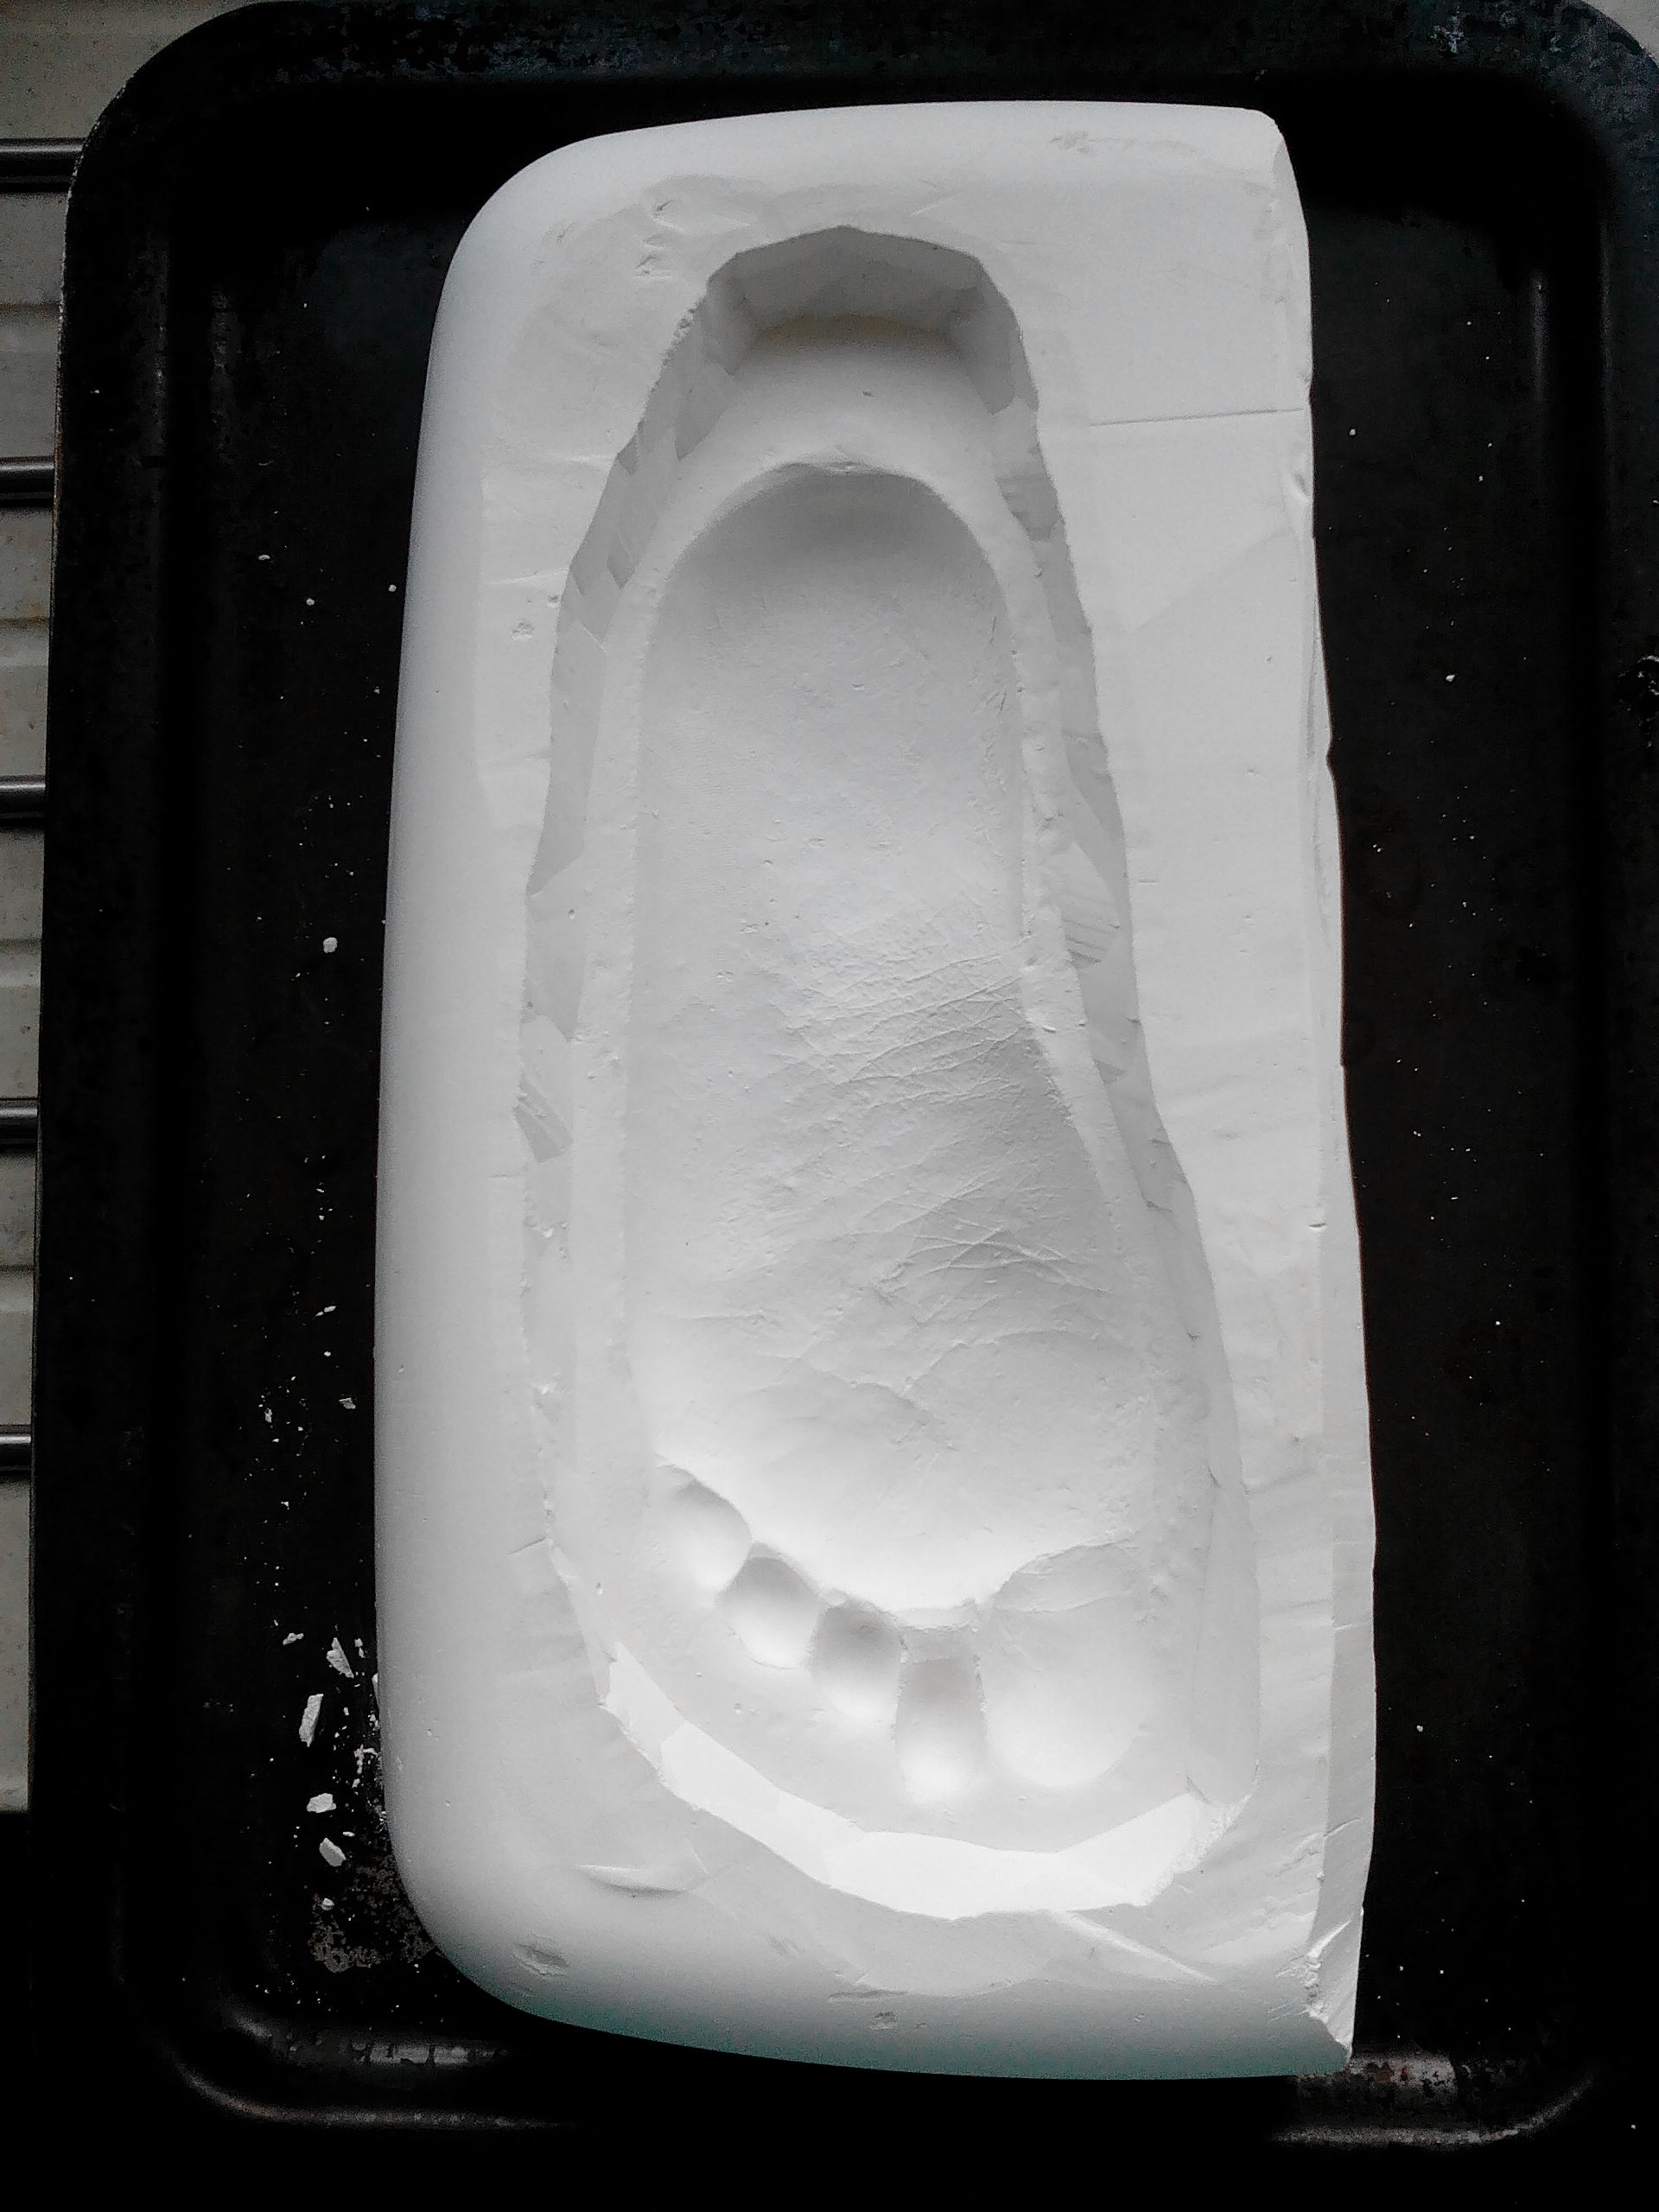 With the mould turned out of the tray, and 2 days in the bottom oven of the aga to melt out the wax and dry the mould, at last I have my final mould ready for the glass.
That’s where I leave this stage. I need to do some more research on kiln programmes, as the annealing stages appear particularly sensitive on large cast items. I must get it right. This is a one use mould, so no second attempts.
Postscript: initial research suggests that I will need to run a 4 day programme, rather than the usual overnight, to prevent stress cracking. This is going to be expensive, so I might try to make a couple of extra small moulds up first to make best use of kiln space and cost.
1 thought on “Glass casting: part 1, the mould”
Comments are closed.